Have you been thinking about redesigning your kitchen but were too afraid to even entertain the thought? Yes, there are lots of decisions to make and this is a big investment, but one that will maintain its value as it is one of the most important areas of the home. We can lead you through the process to remove the anxiety!
Whether your budget is $50,000 or $250,000, the proper steps to getting to your Dream Kitchen are the same. This is how we work with our clients in creating their beautiful customized new space.
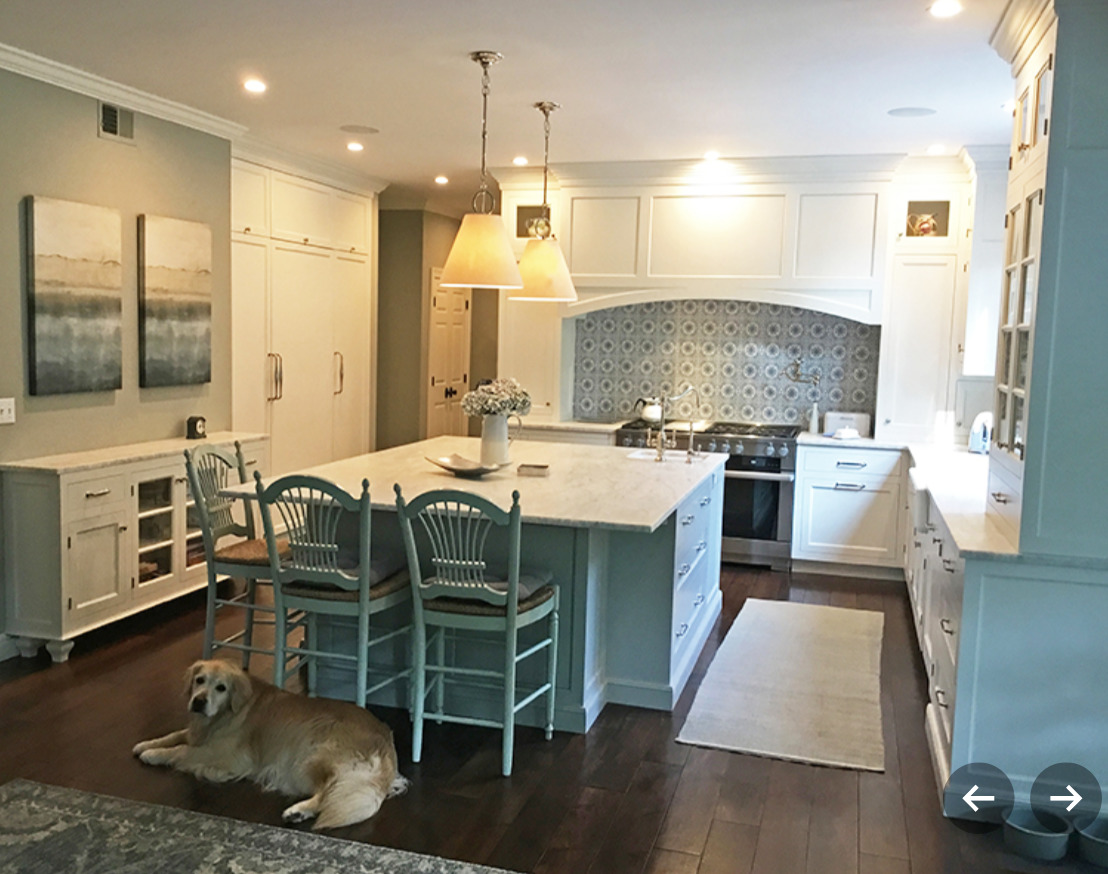
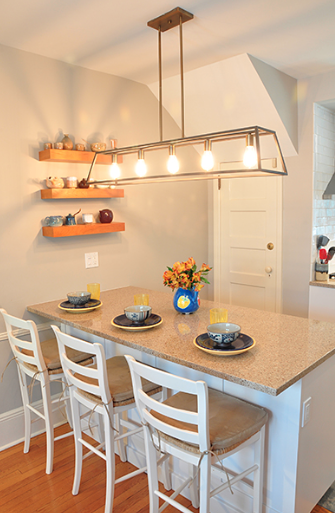
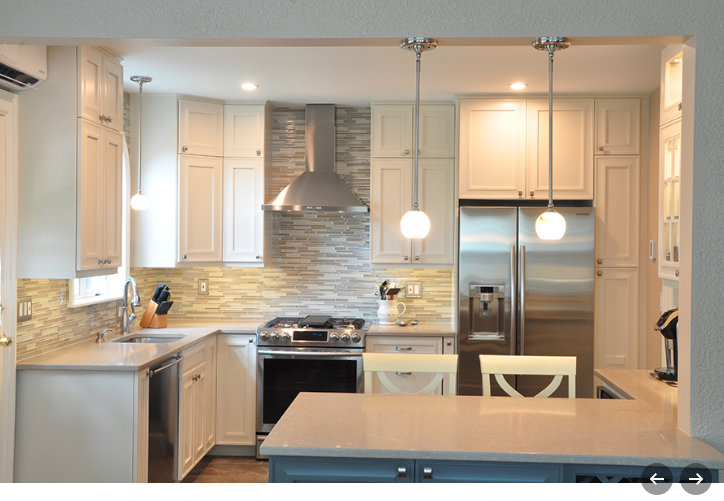
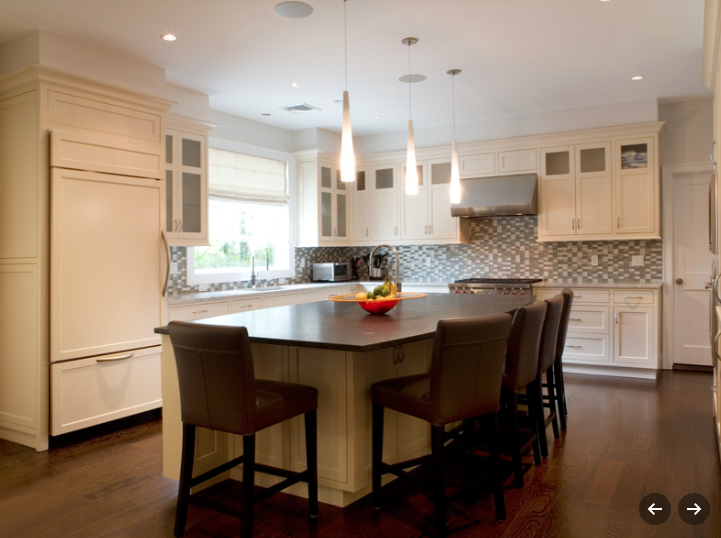
Step 1– INSPIRATIONAL PHOTOS – We search online and in my portfolio for images of kitchens that they like. Identify details that they would like to include such as spice racks and hidden dog food bins.
Step 2 – FUNCTION – We discuss the overall function of the kitchen unique to the owners and have questions answered such as: How often do you entertain? Do you cook everyday? Do you like to bake?
Step 3 – FLOORPLAN – We look at the current footprint of the kitchen and decide what is working and what is not working. We discuss what needs to change to make it easier to achieve all functional goals. We also ask: Are we gutting the entire kitchen? Changing the footprint? Creating an addition?
Step 4 – PERMITS – Do we need permits? If the kitchen renovation is purely aesthetic since the appliances and tile are old and they are simply being replaced with newer models, chances are a permit is not necessary. If walls are being removed or major changes are going to take place such as moving/removing walls, then obtaining a town permit is required. In some states, such as in NY, an architect or engineer will be required to create specific plans to submit for the town permit. They can typically work from our initial 3D plans and from the cabinet plans for this purpose.
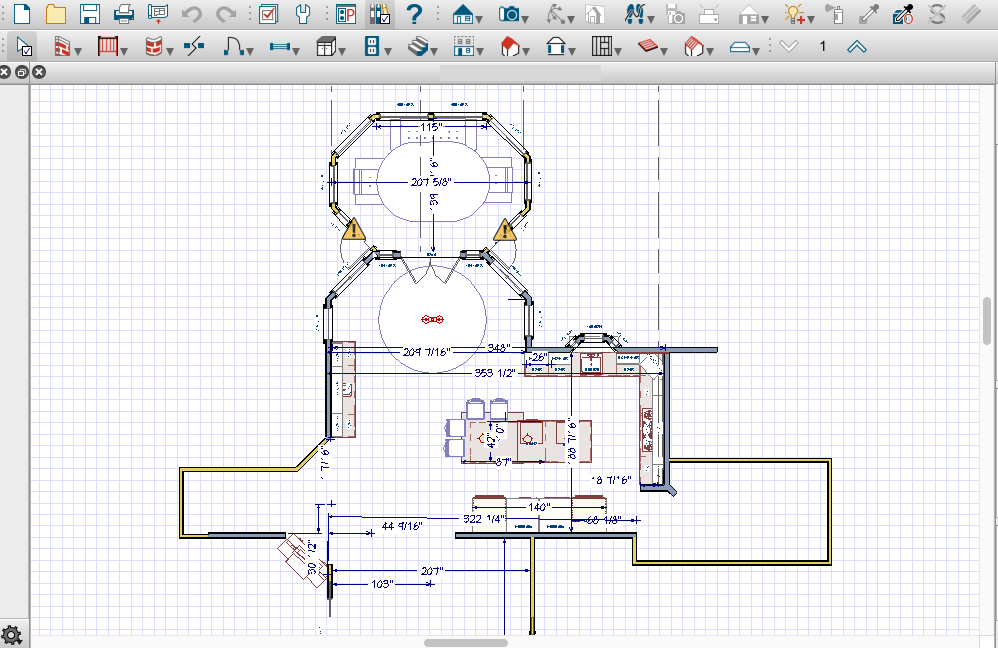
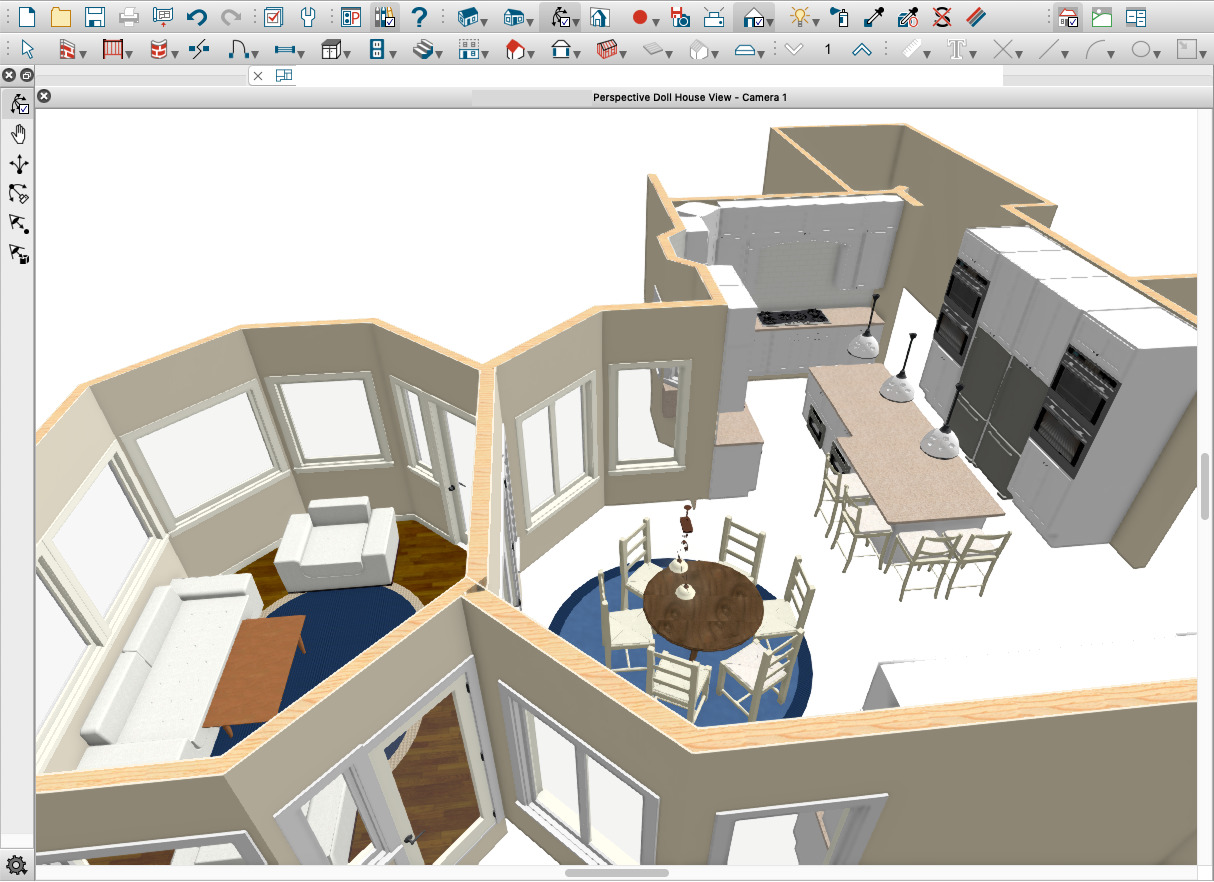
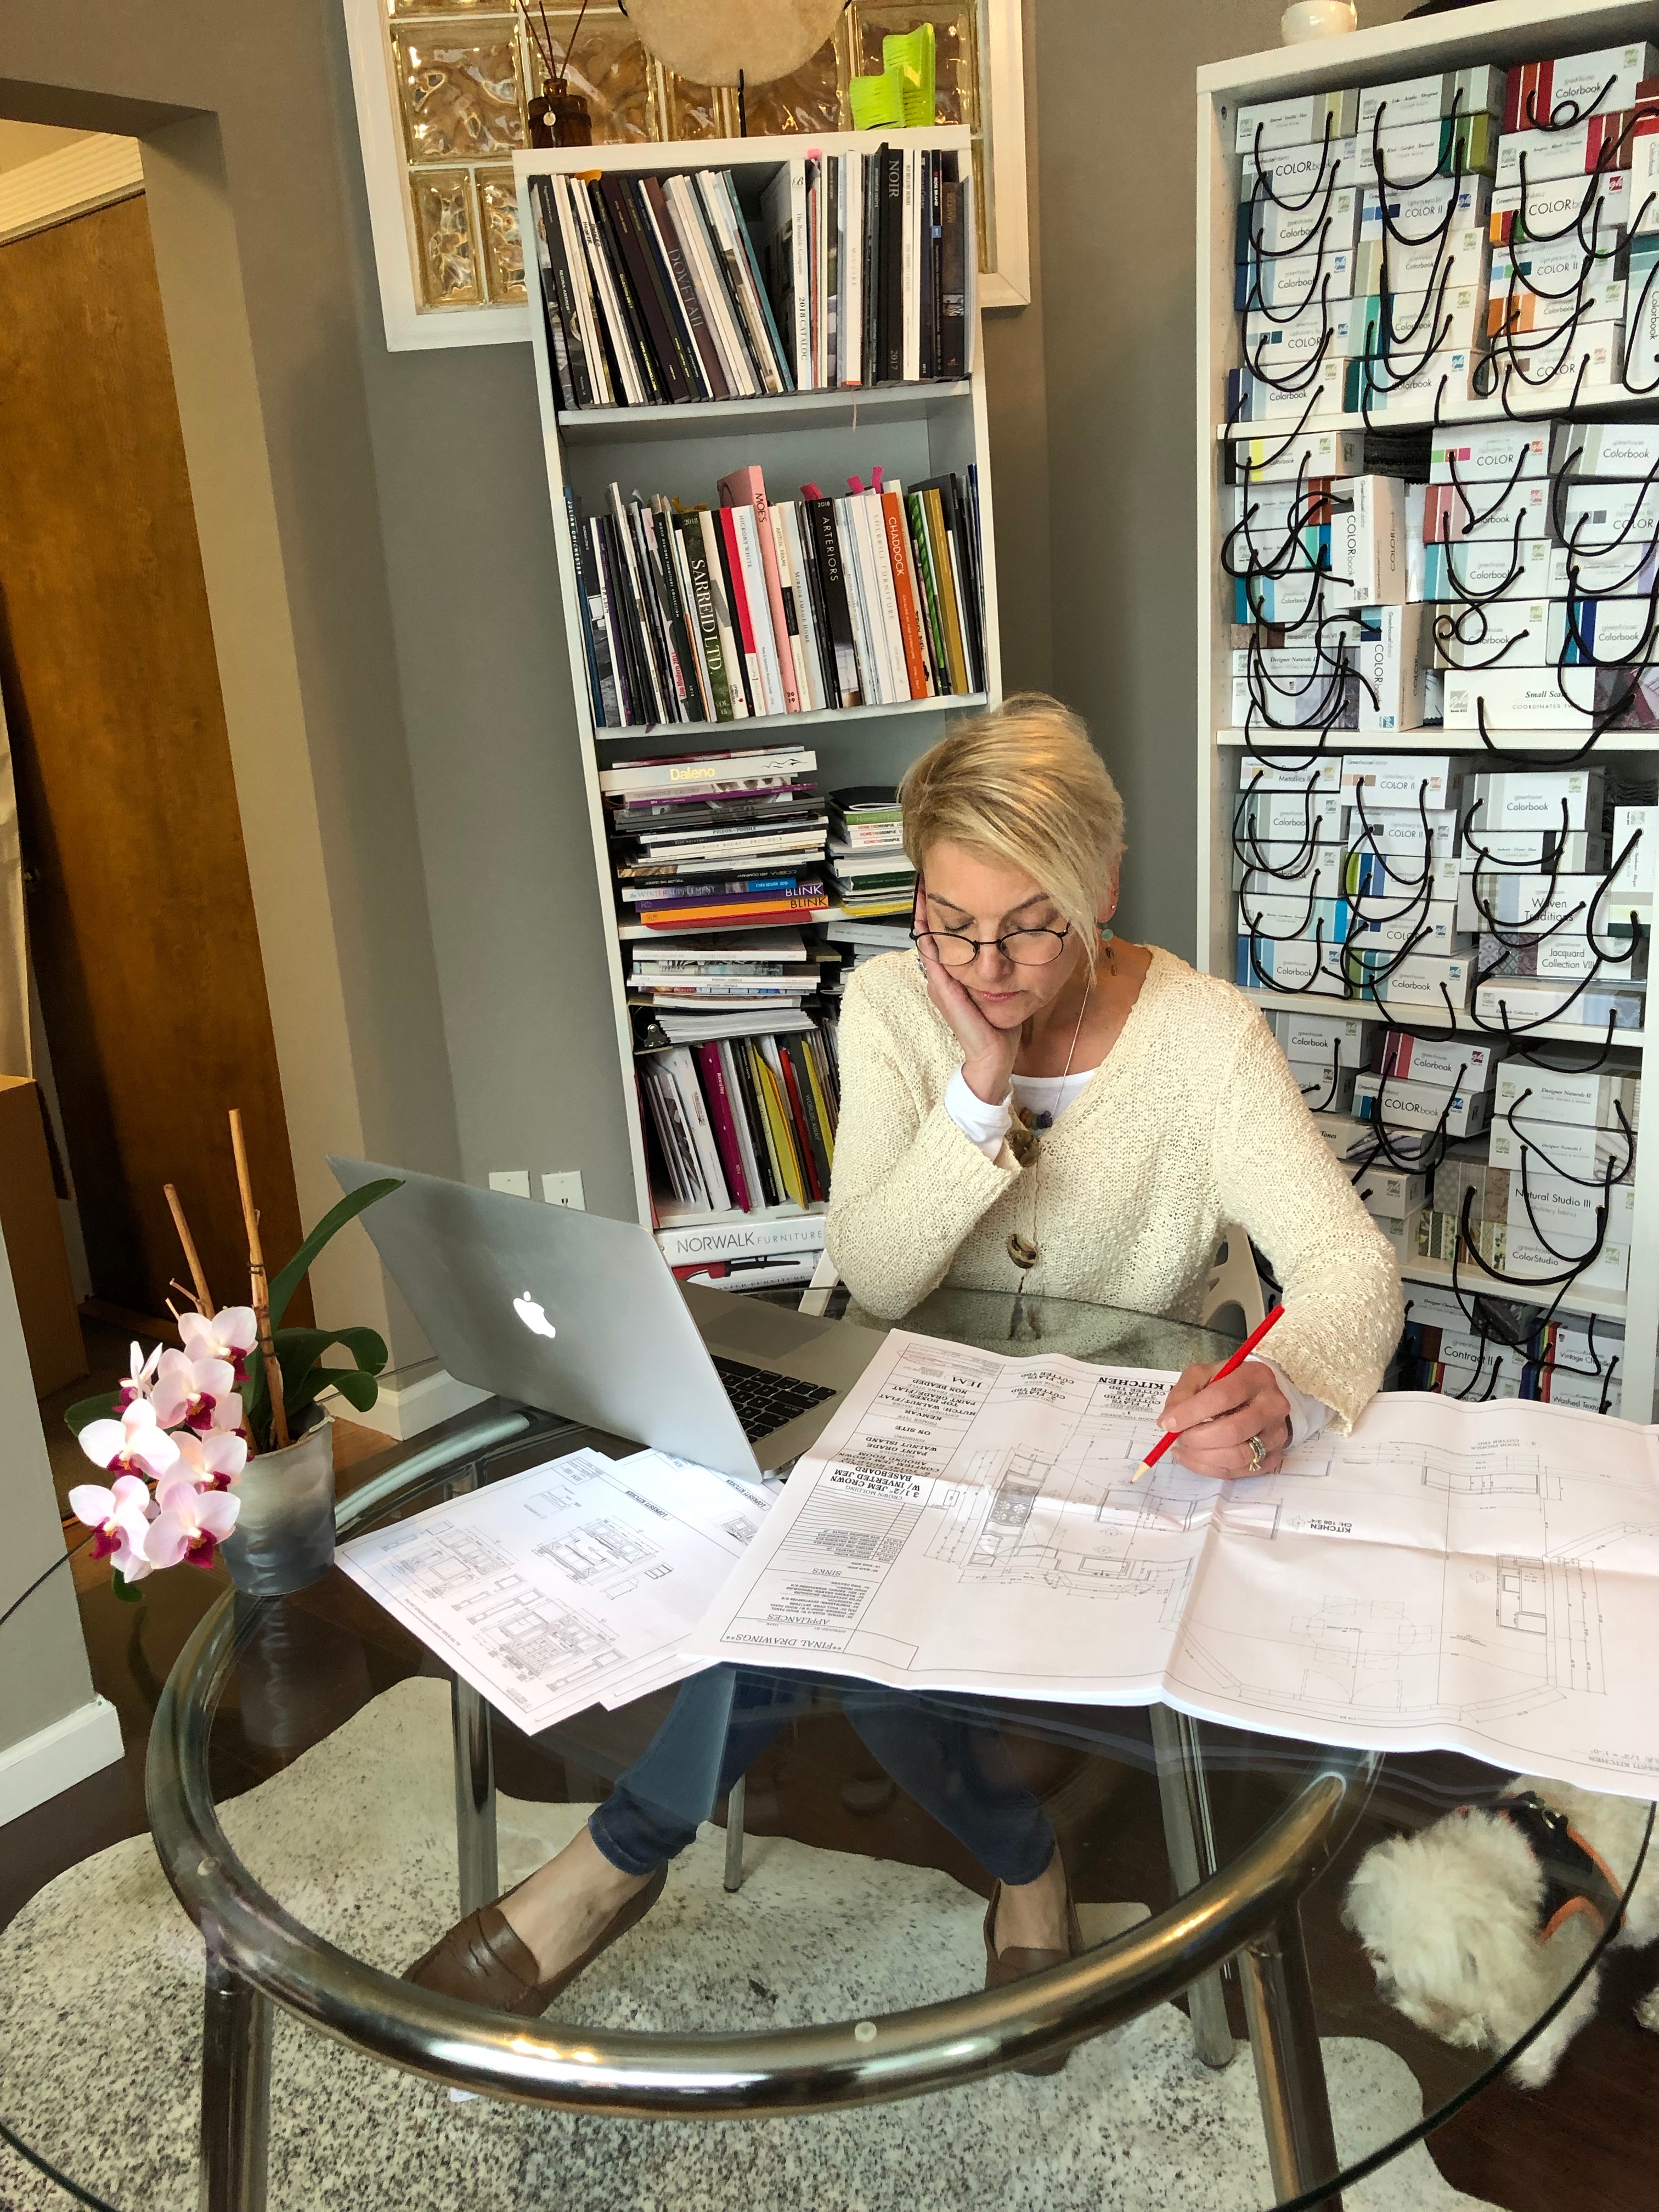
Step 5 – 3D SCALE PLANS – We measure the space and come up with our initial scale 3D plans, elevations and various 3D views, to help the homeowner envision and approve the proposed changes to the layout, and virtually see how the kitchen will function for them when completed. We virtually show them design elements such as an island, seating, what size appliances should go where, and discuss details such as lighting and what the room will look like with a wall removed.
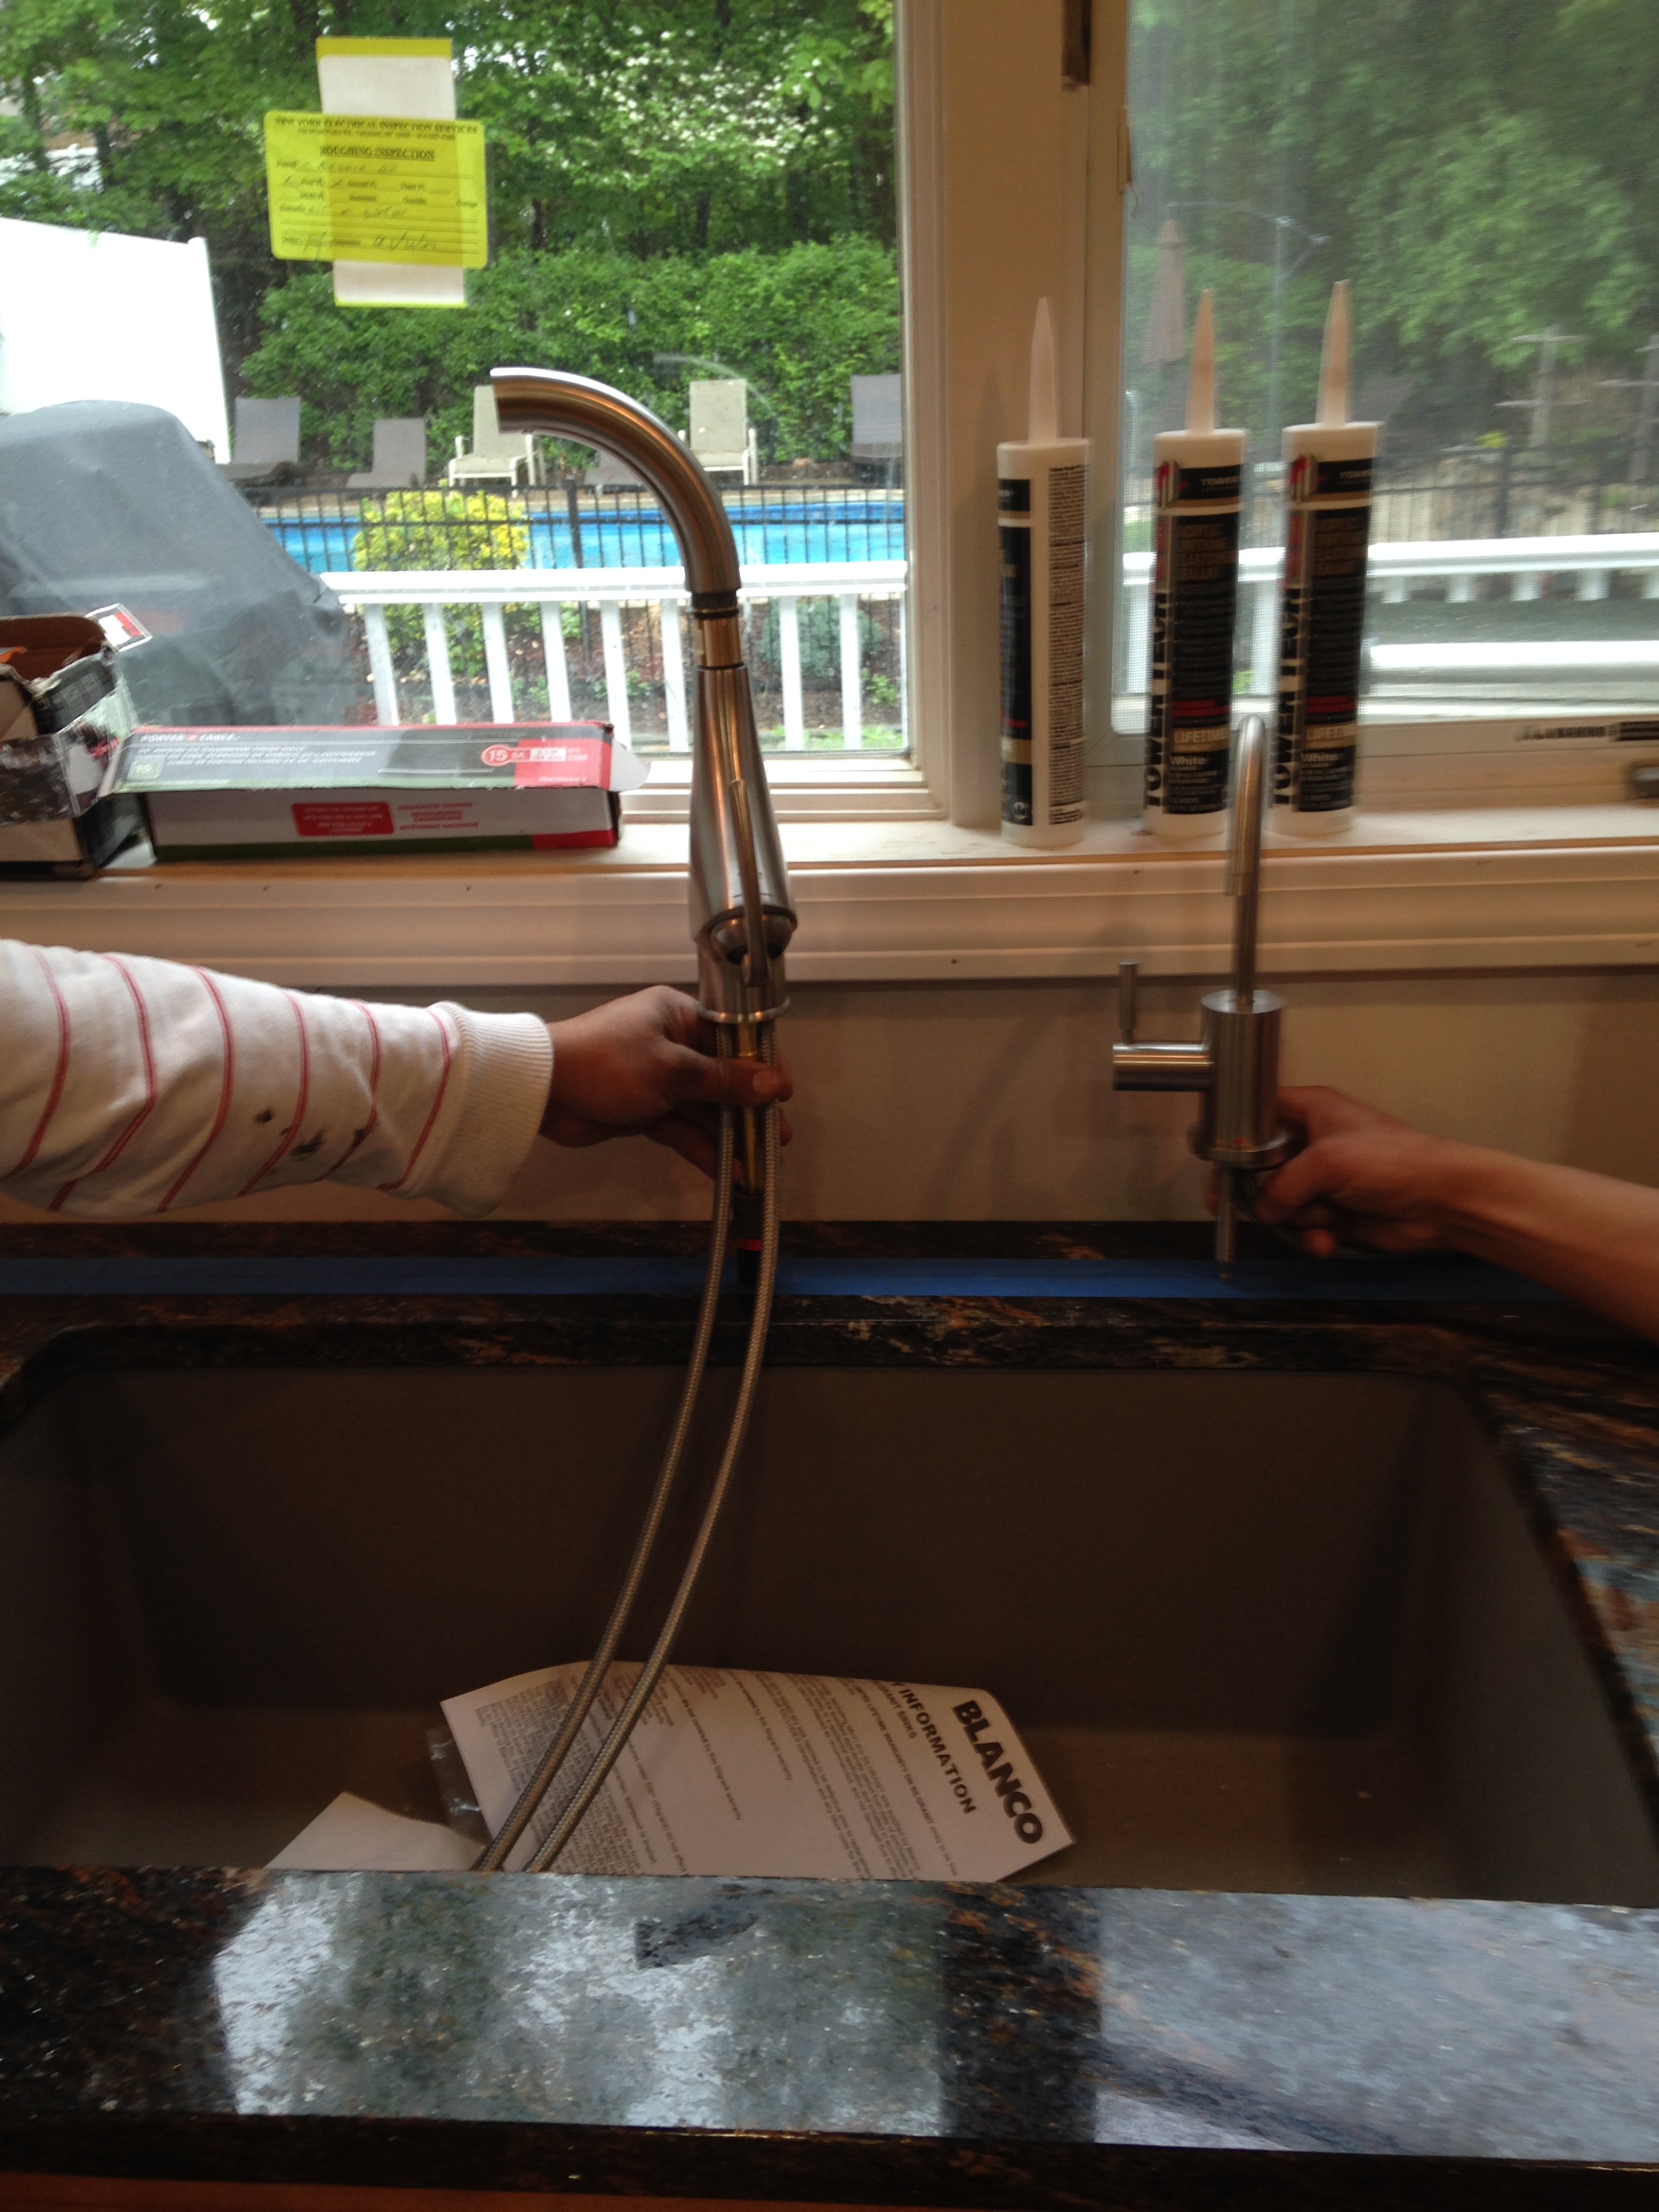
Step 6 – APPLIANCES – We come up with general list of what appliances are needed for the kitchen and the clients go to one of the many appliance stores in the area to choose what they like with the help of the showroom sales reps. Since this is a fully subjective choice, the clients get the lowdown on the bells and whistle associated with choosing one brand over another. We just make sure that the look of the appliances work with our overall design scheme and has the functionality that the client wishes. The kitchen sink model is finalized at this time too.
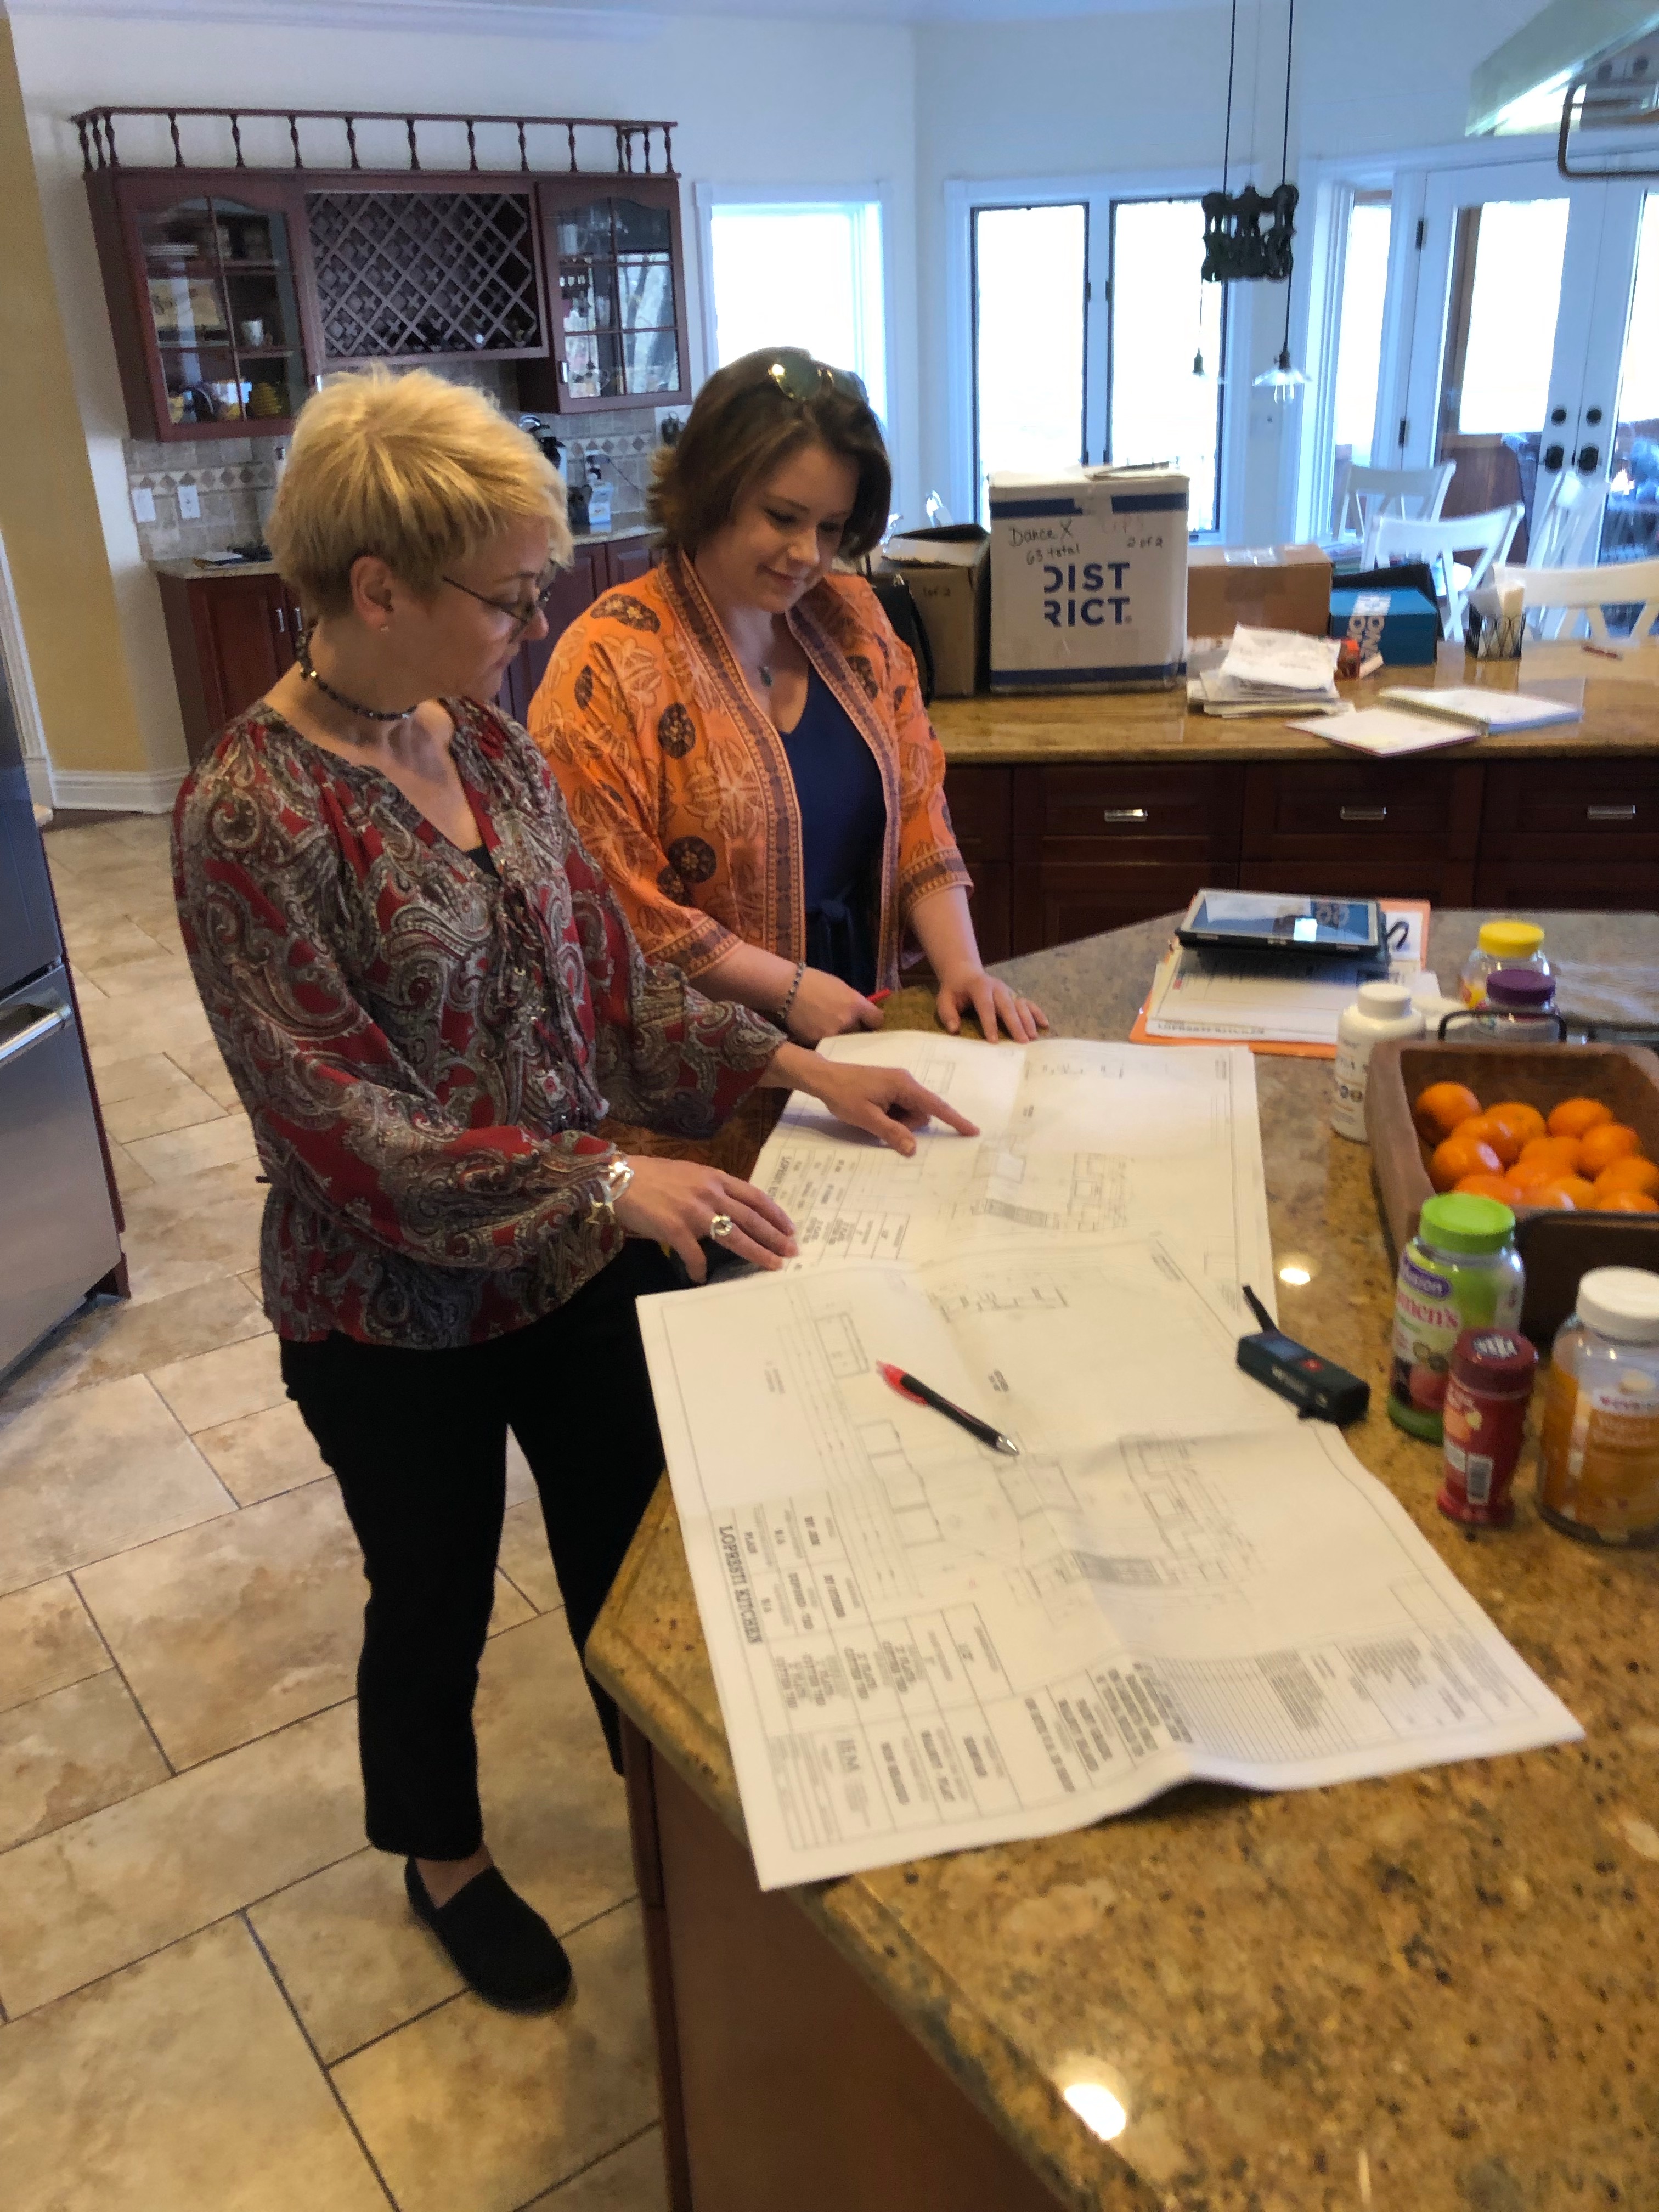
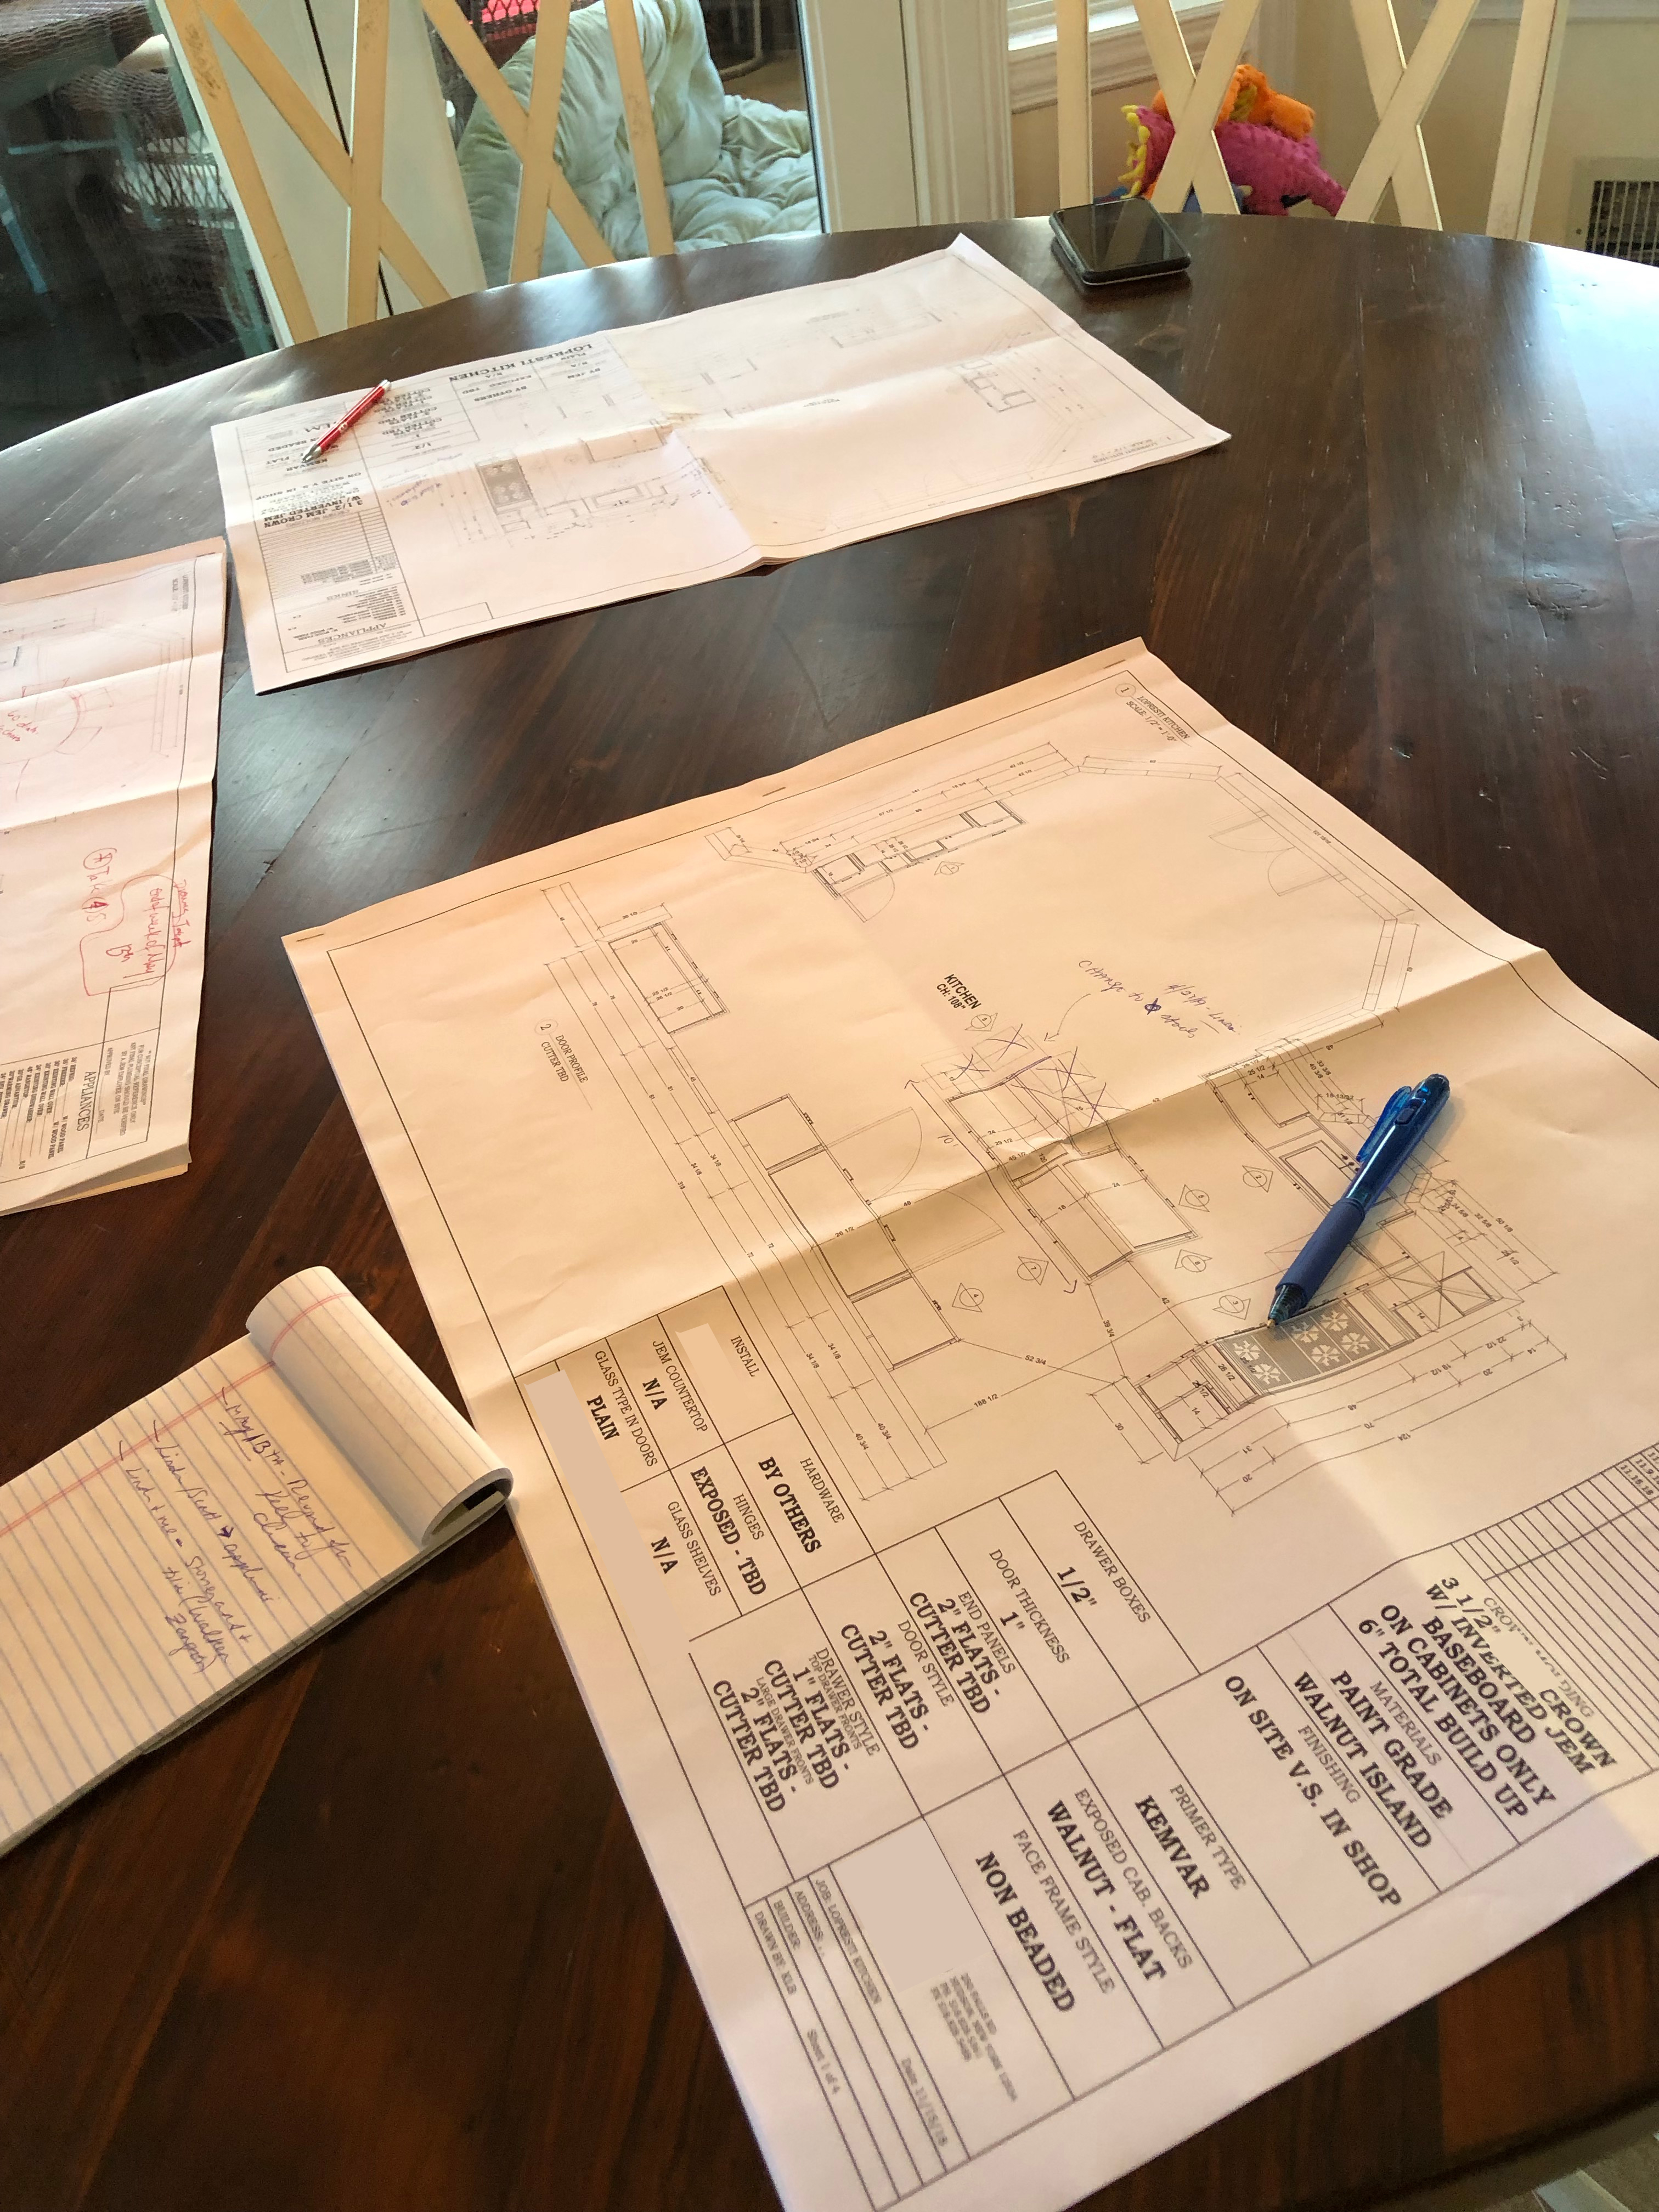
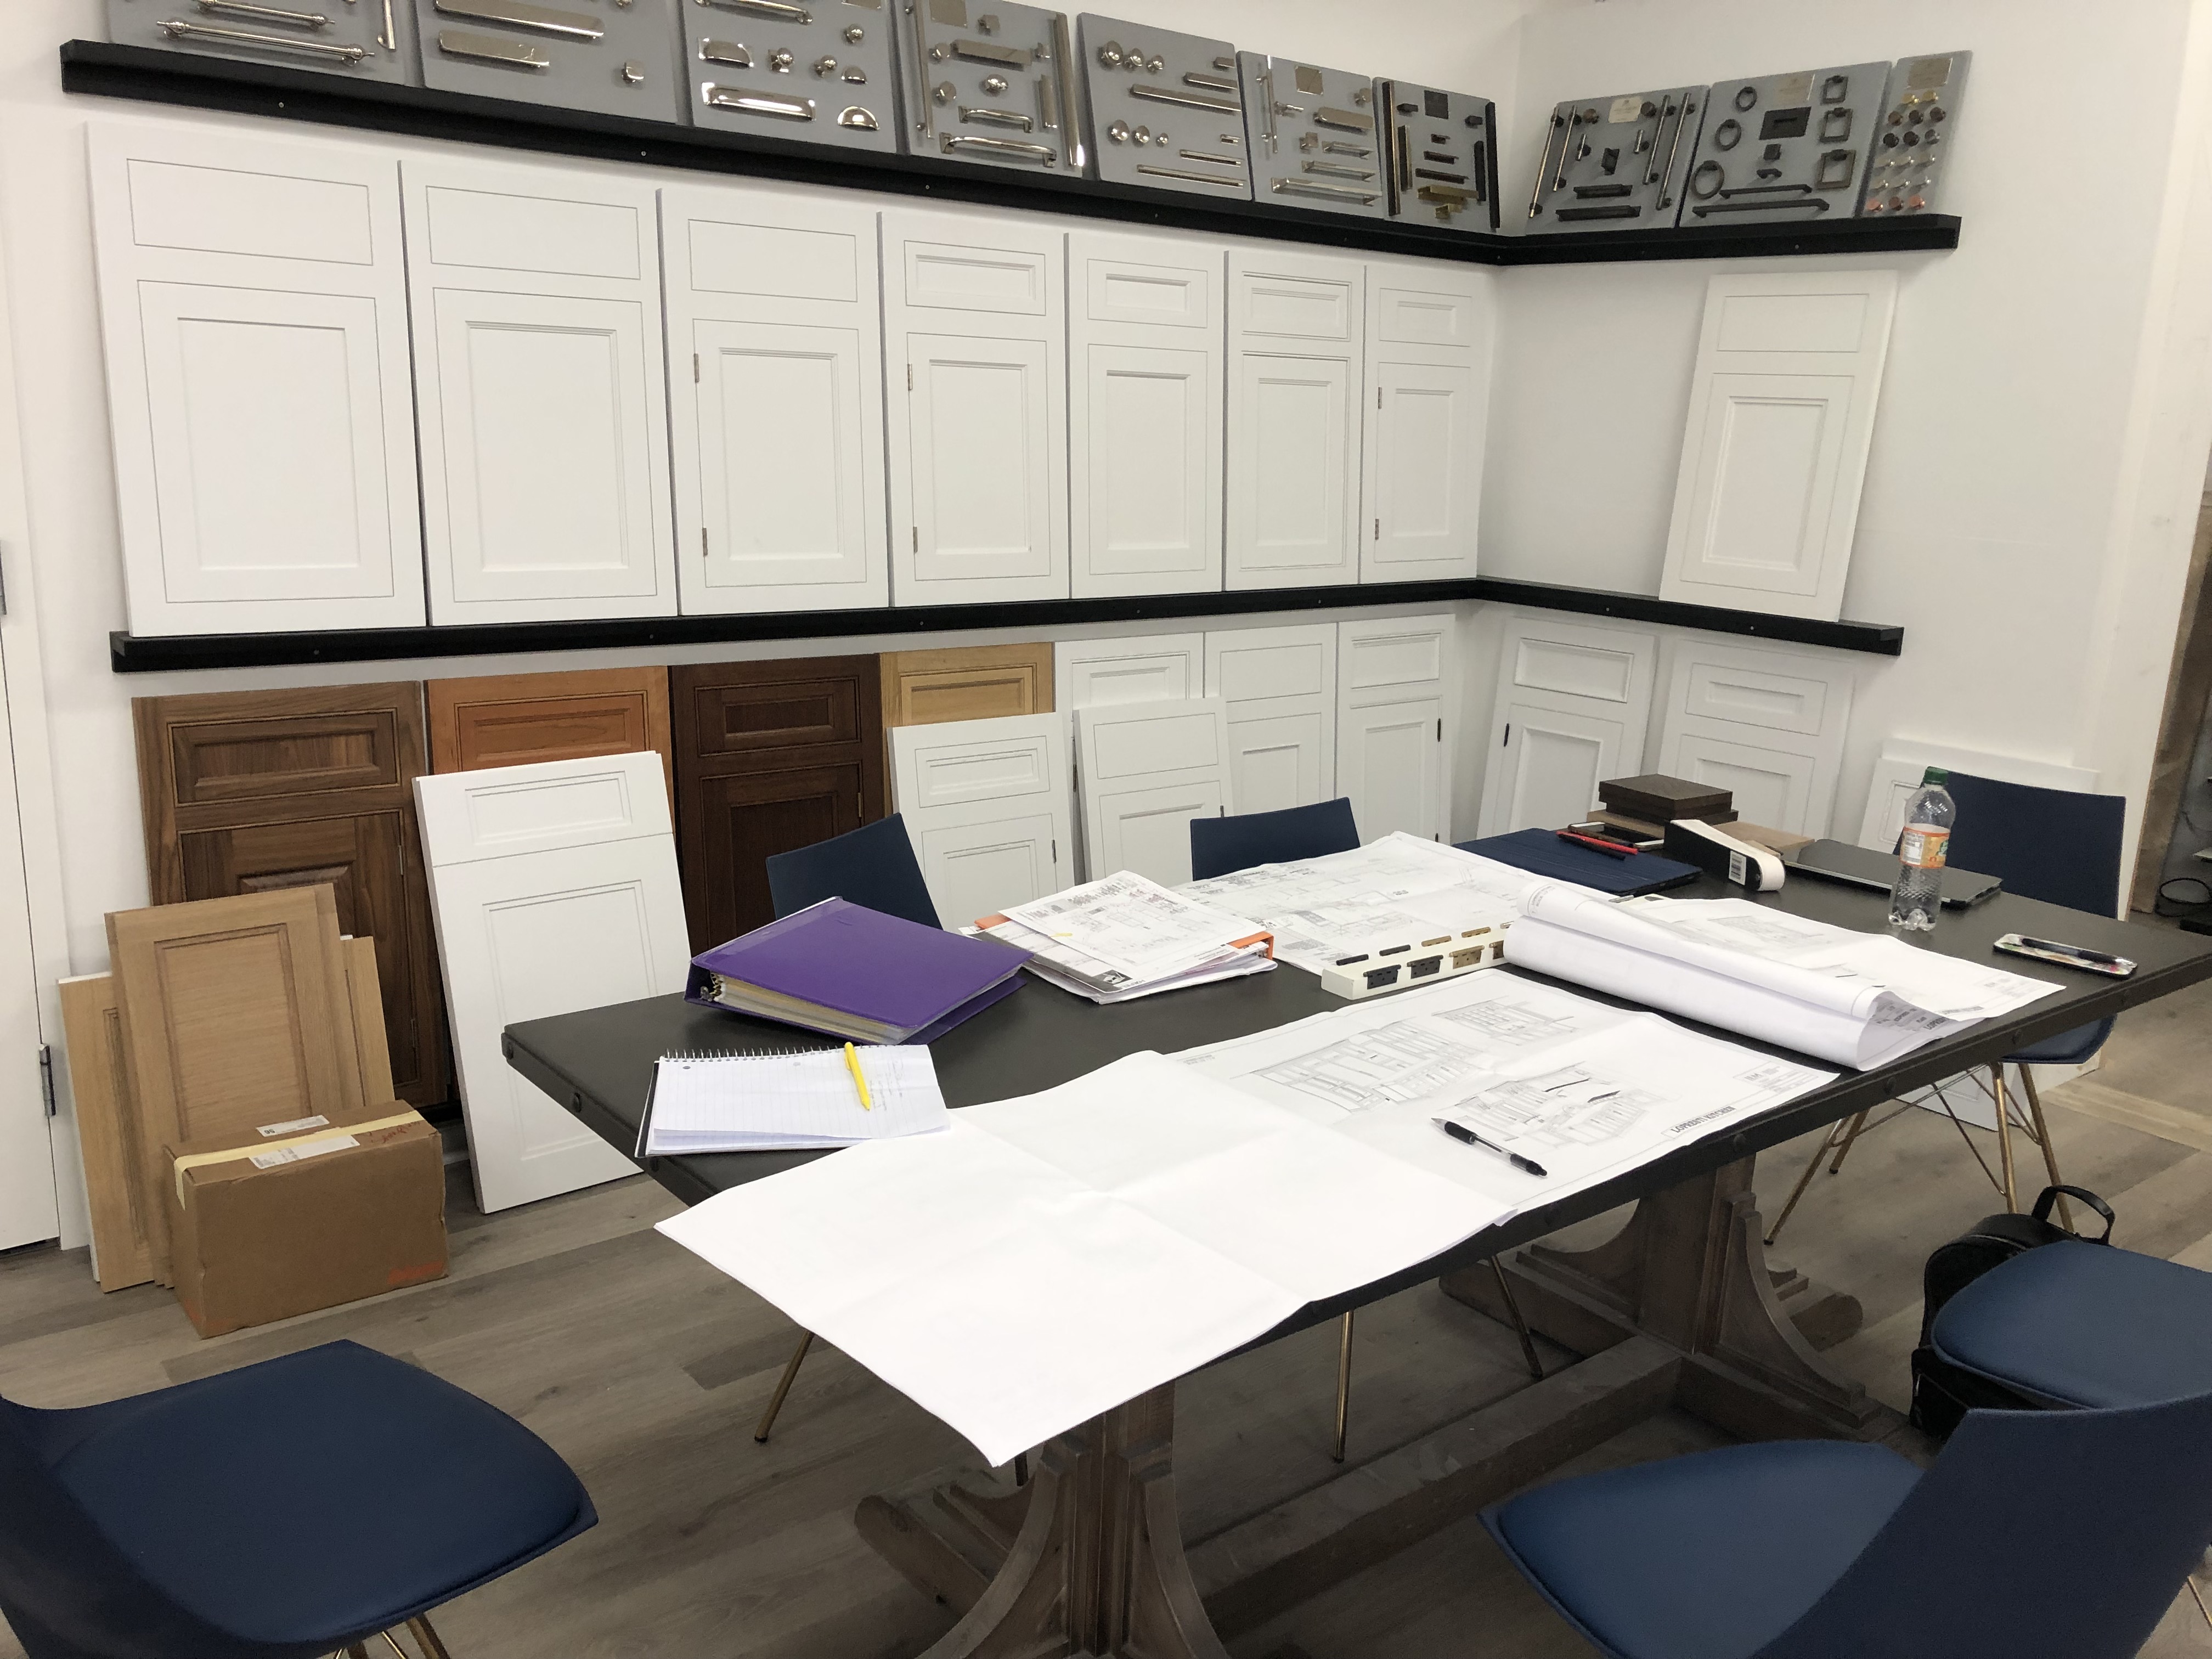
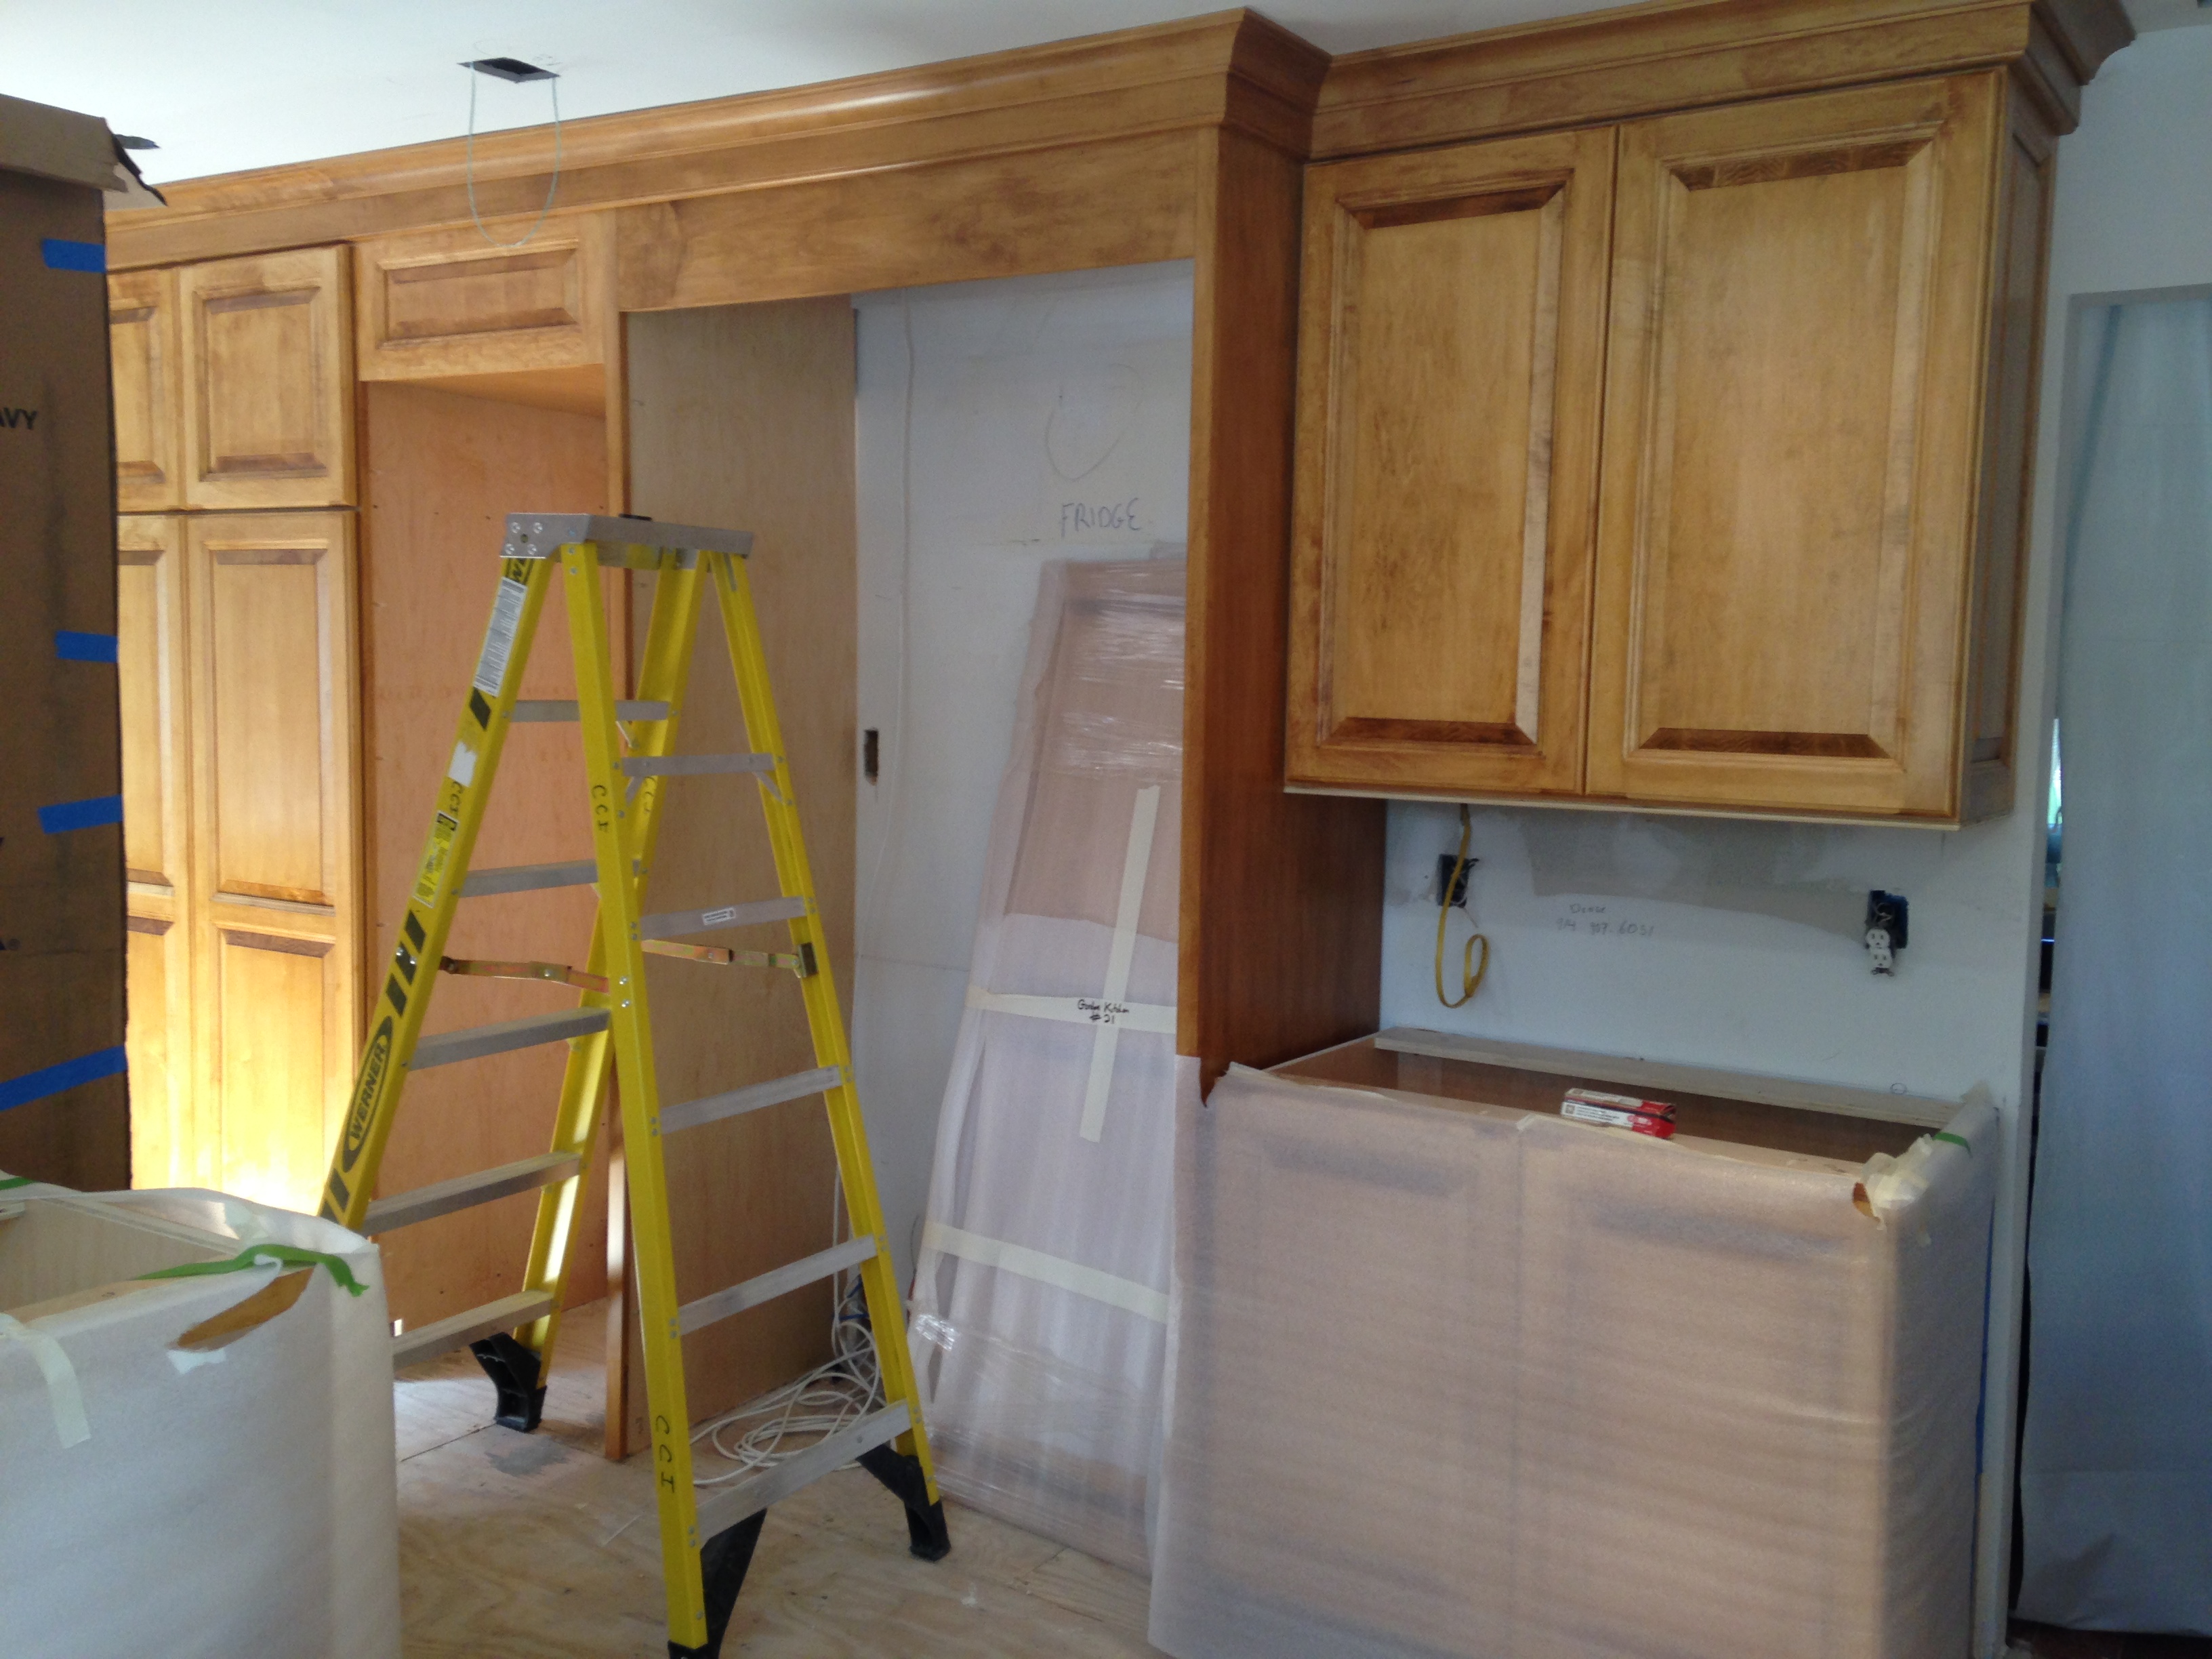
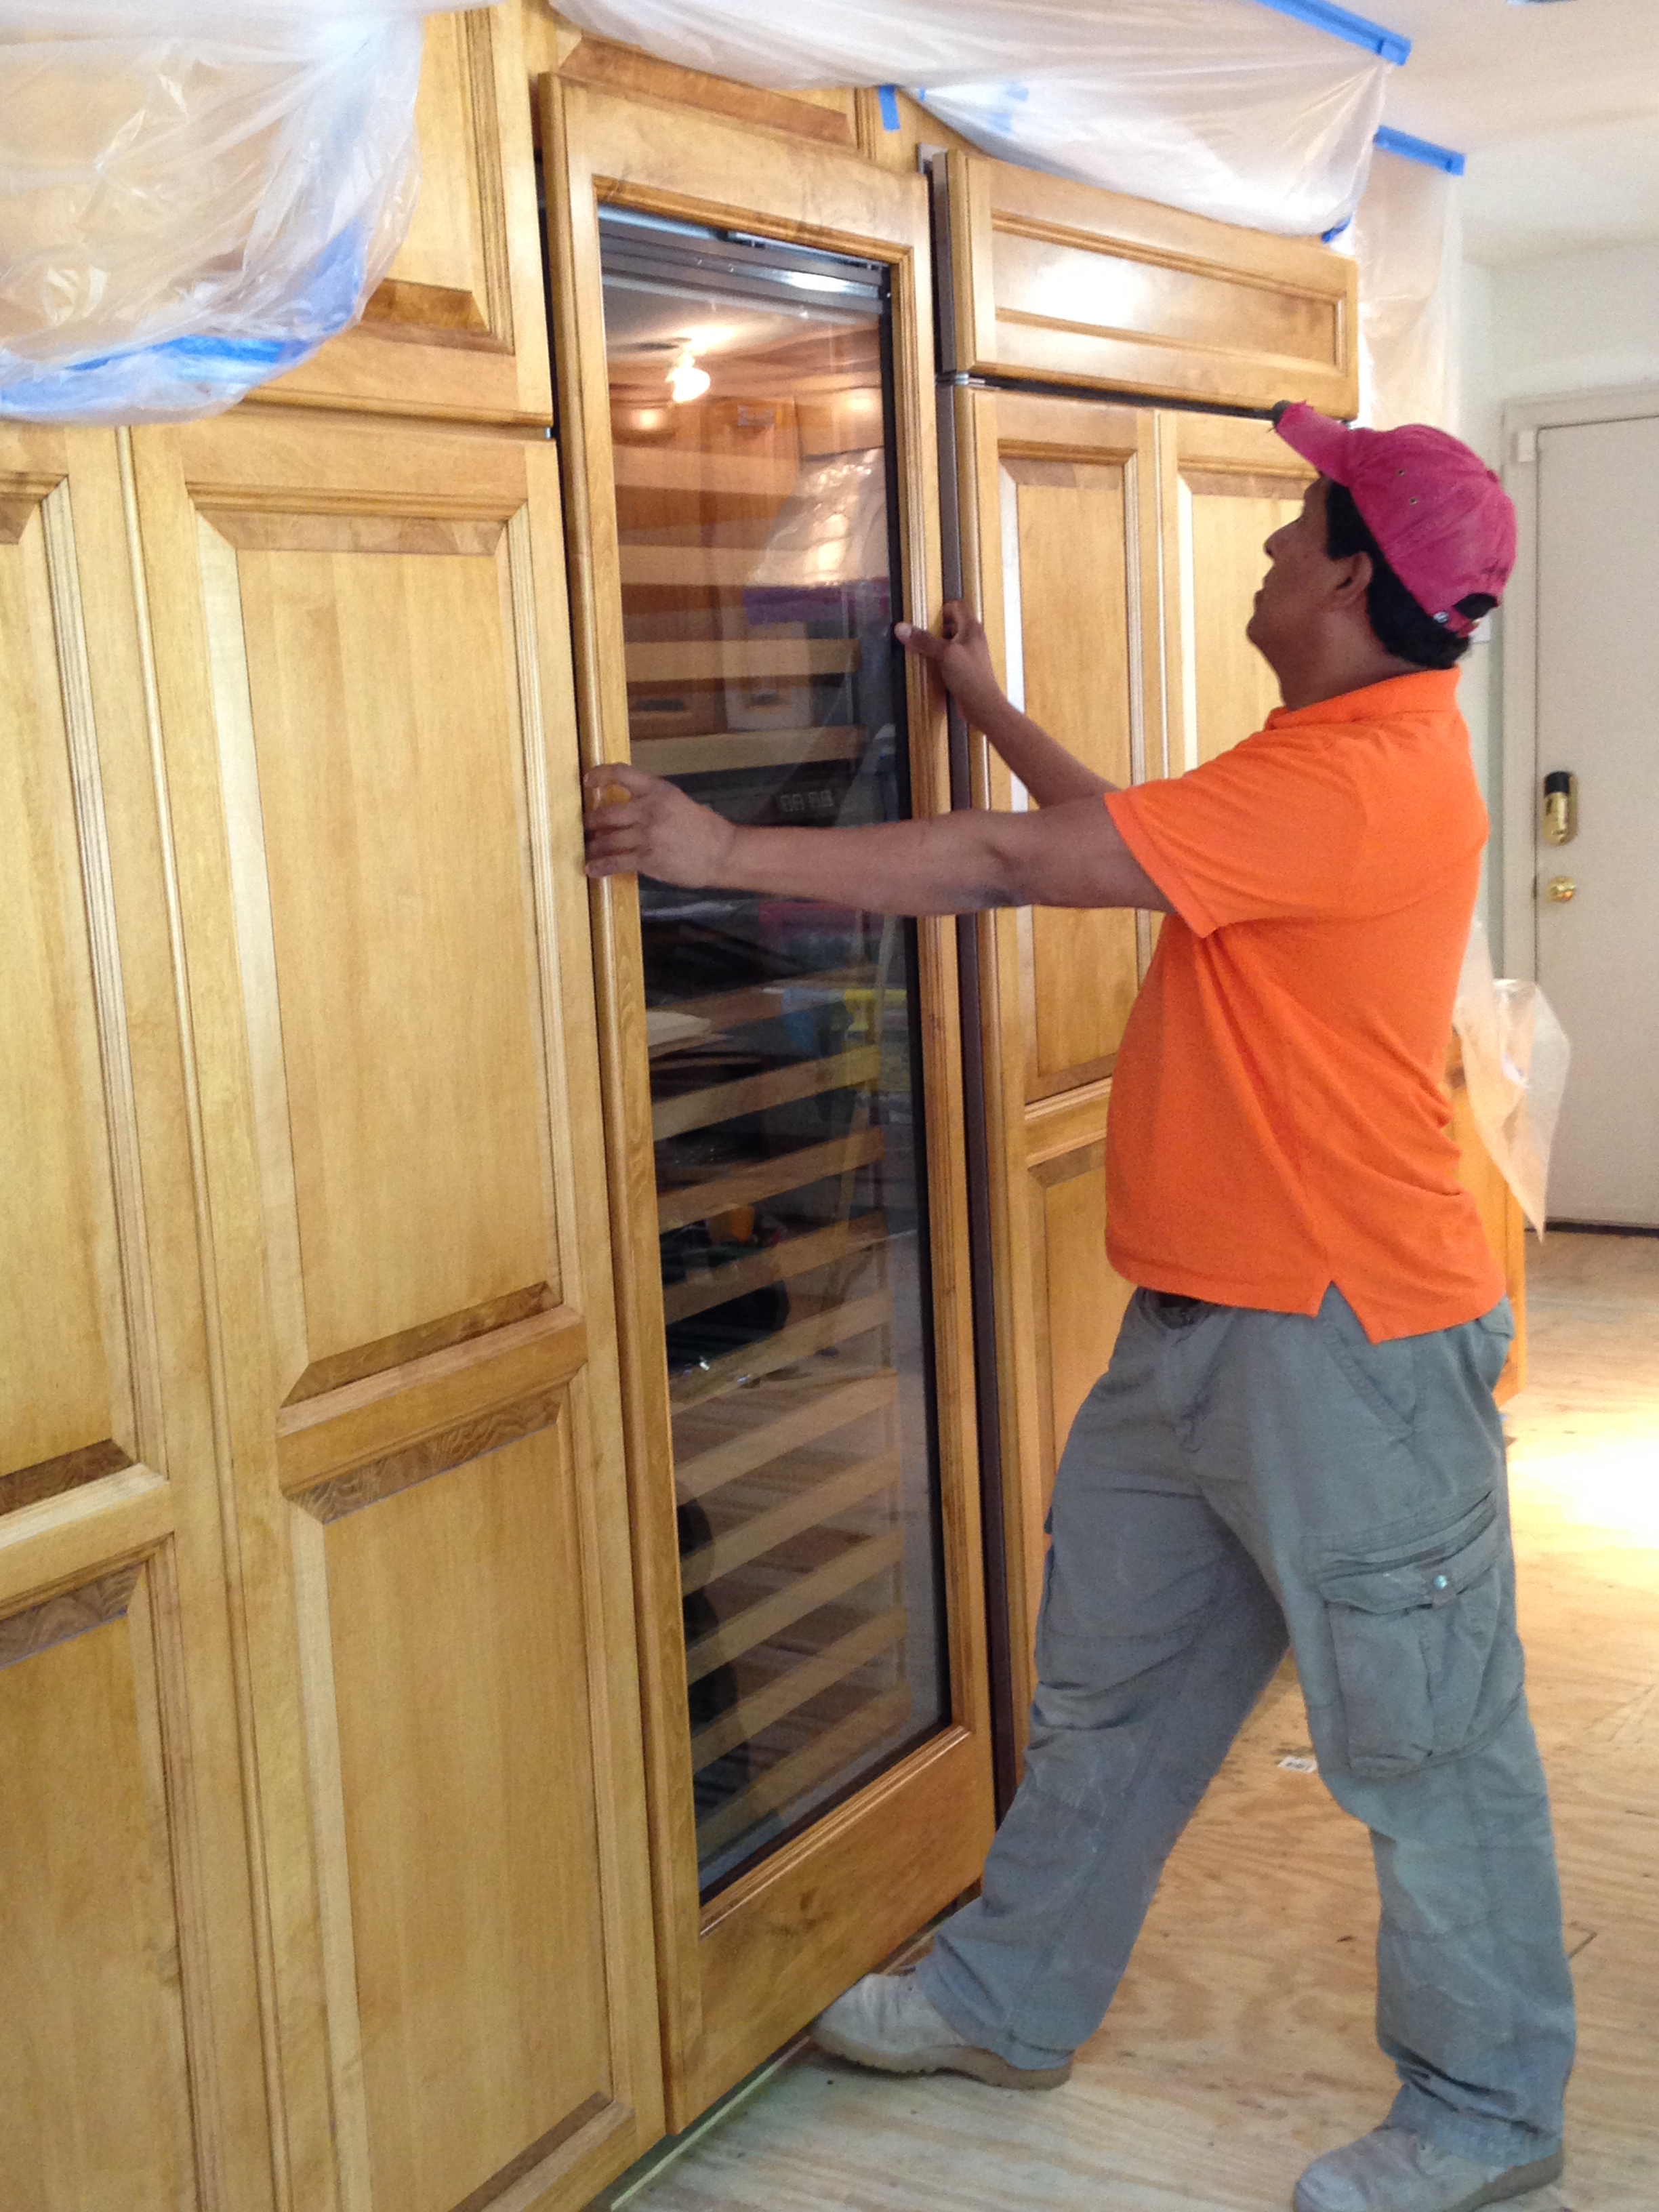
Step 7 – CABINETRY – Once we have a general design plan approved, we bring in the cabinet manufacturers to create a cabinet plan from which the cabinets will be built. This is a detailed shop drawing noting the smallest dimensions and specific details such as how many cabinets will have drawers, specialty drawers and cabinets, paneling, etc. There are usually a few revisions to the cabinet plans before final sign off and approval when the cabinetry goes into production.
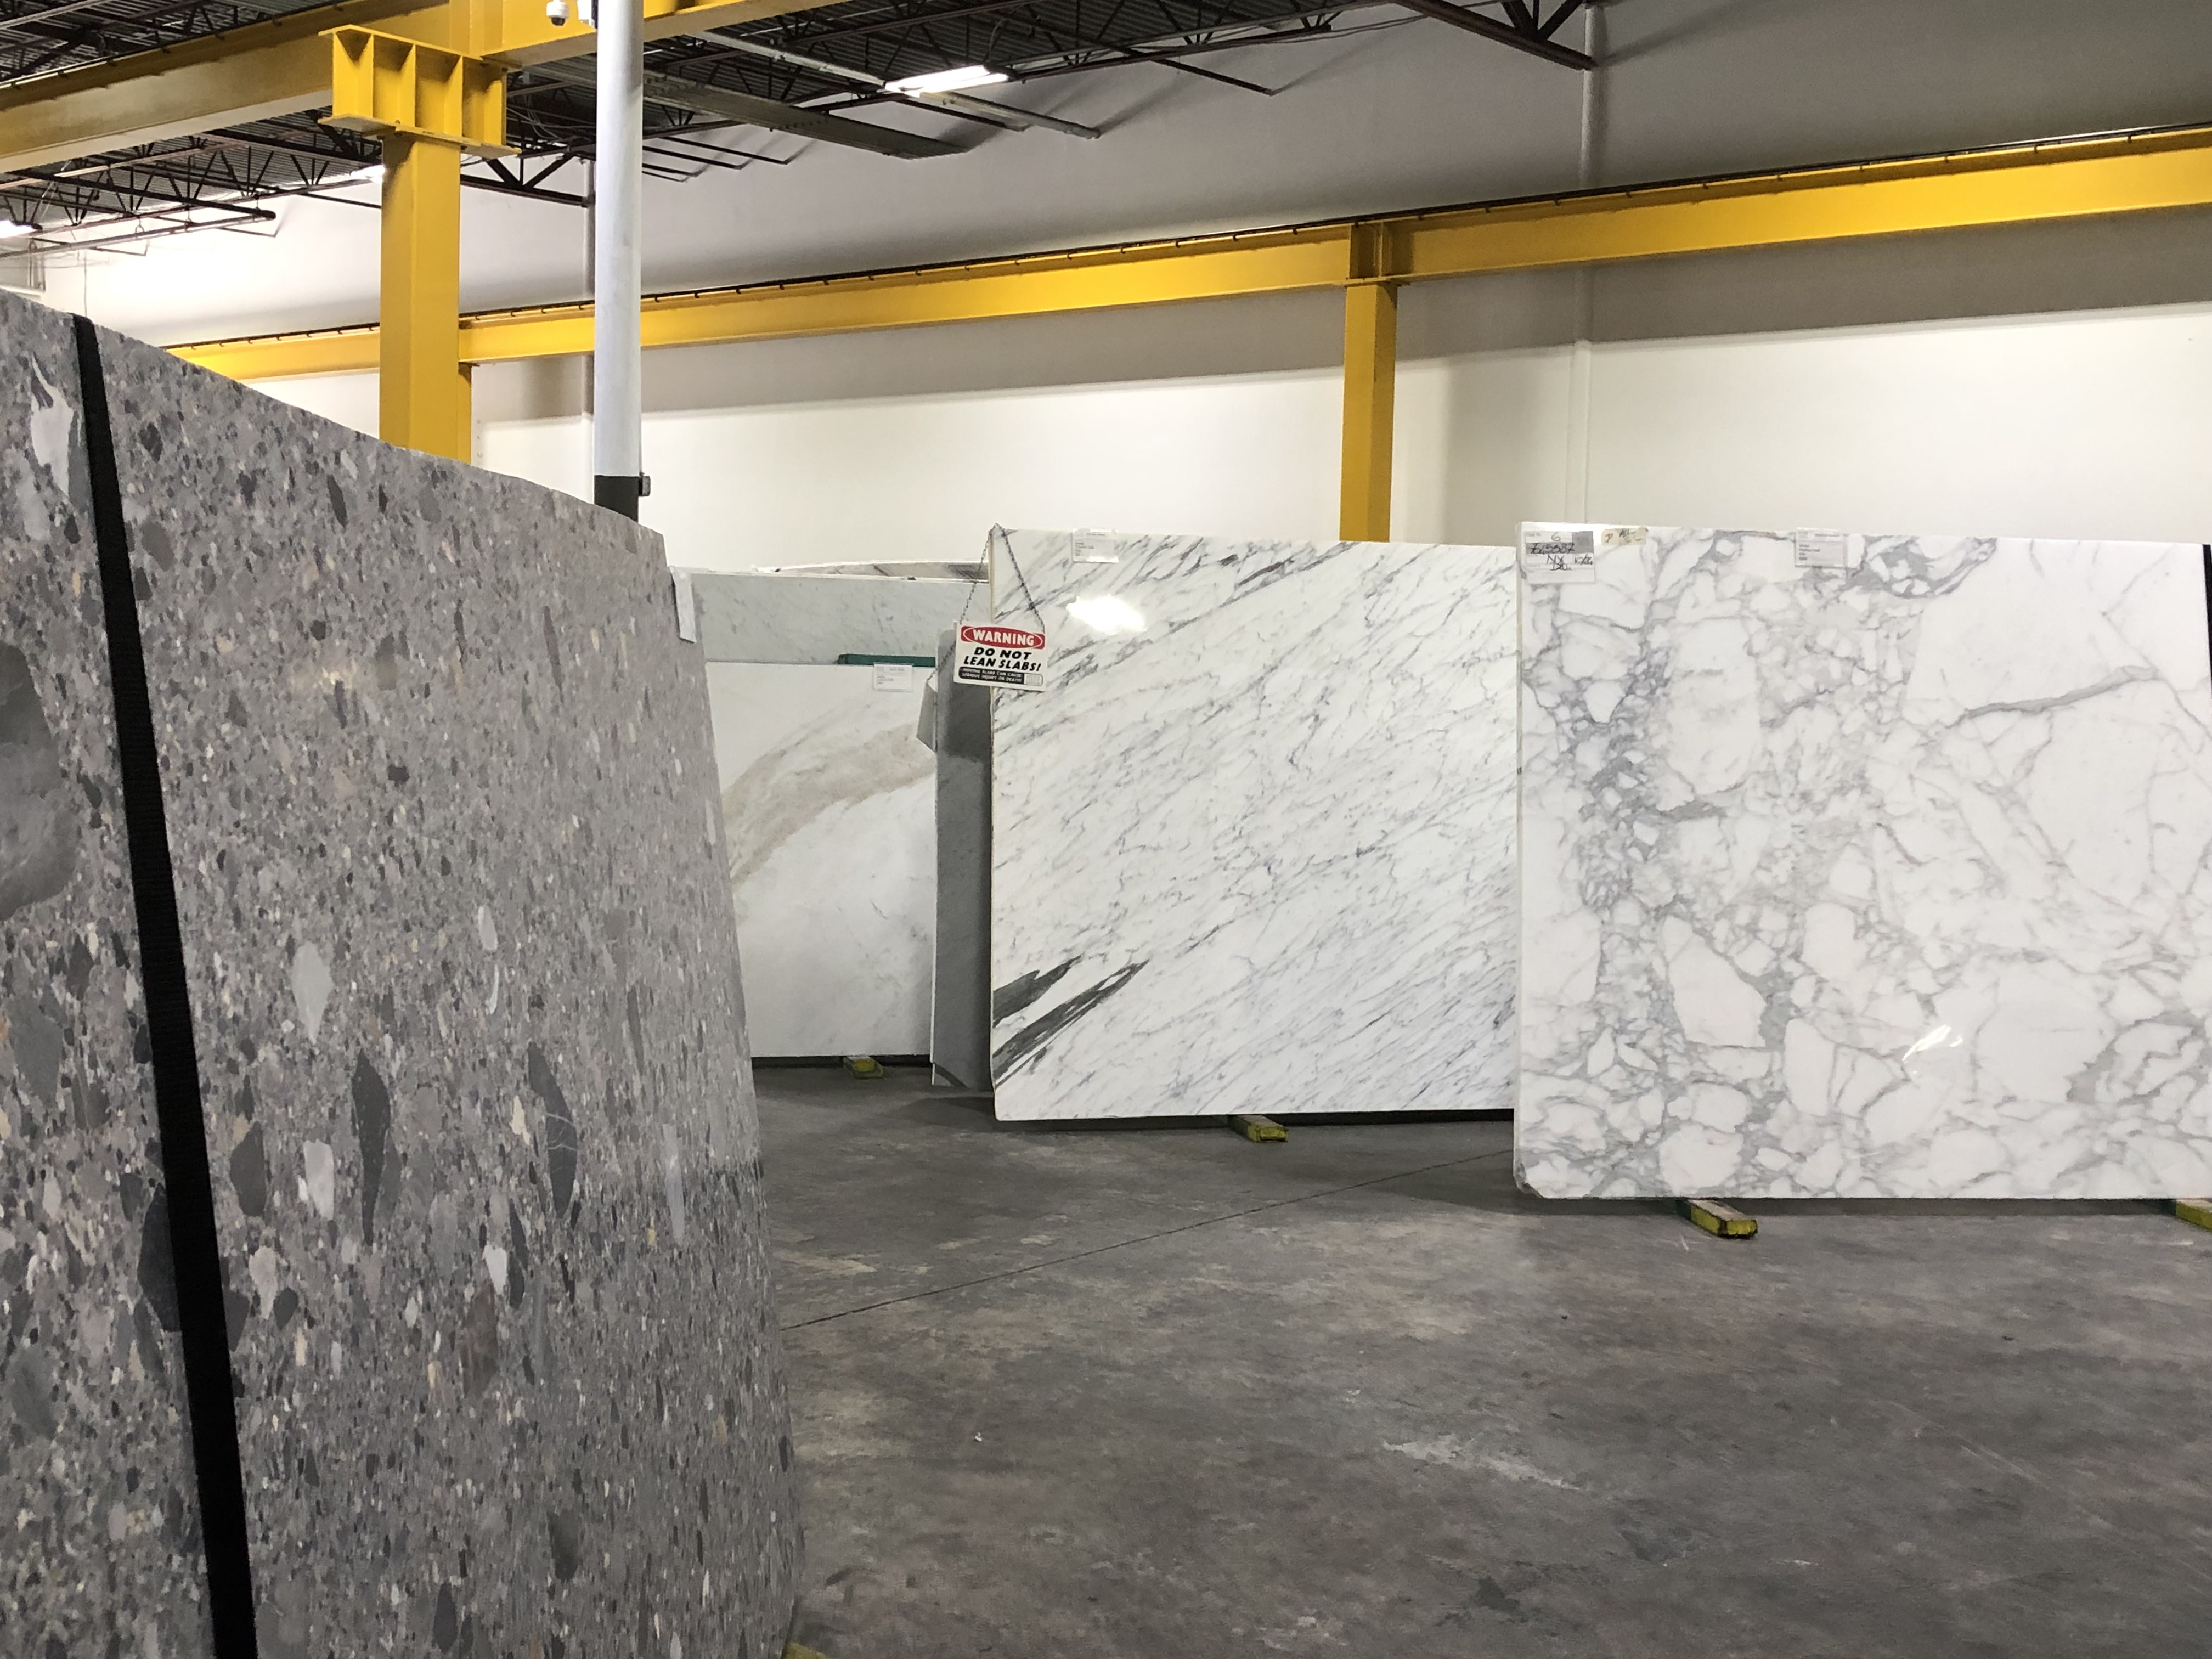
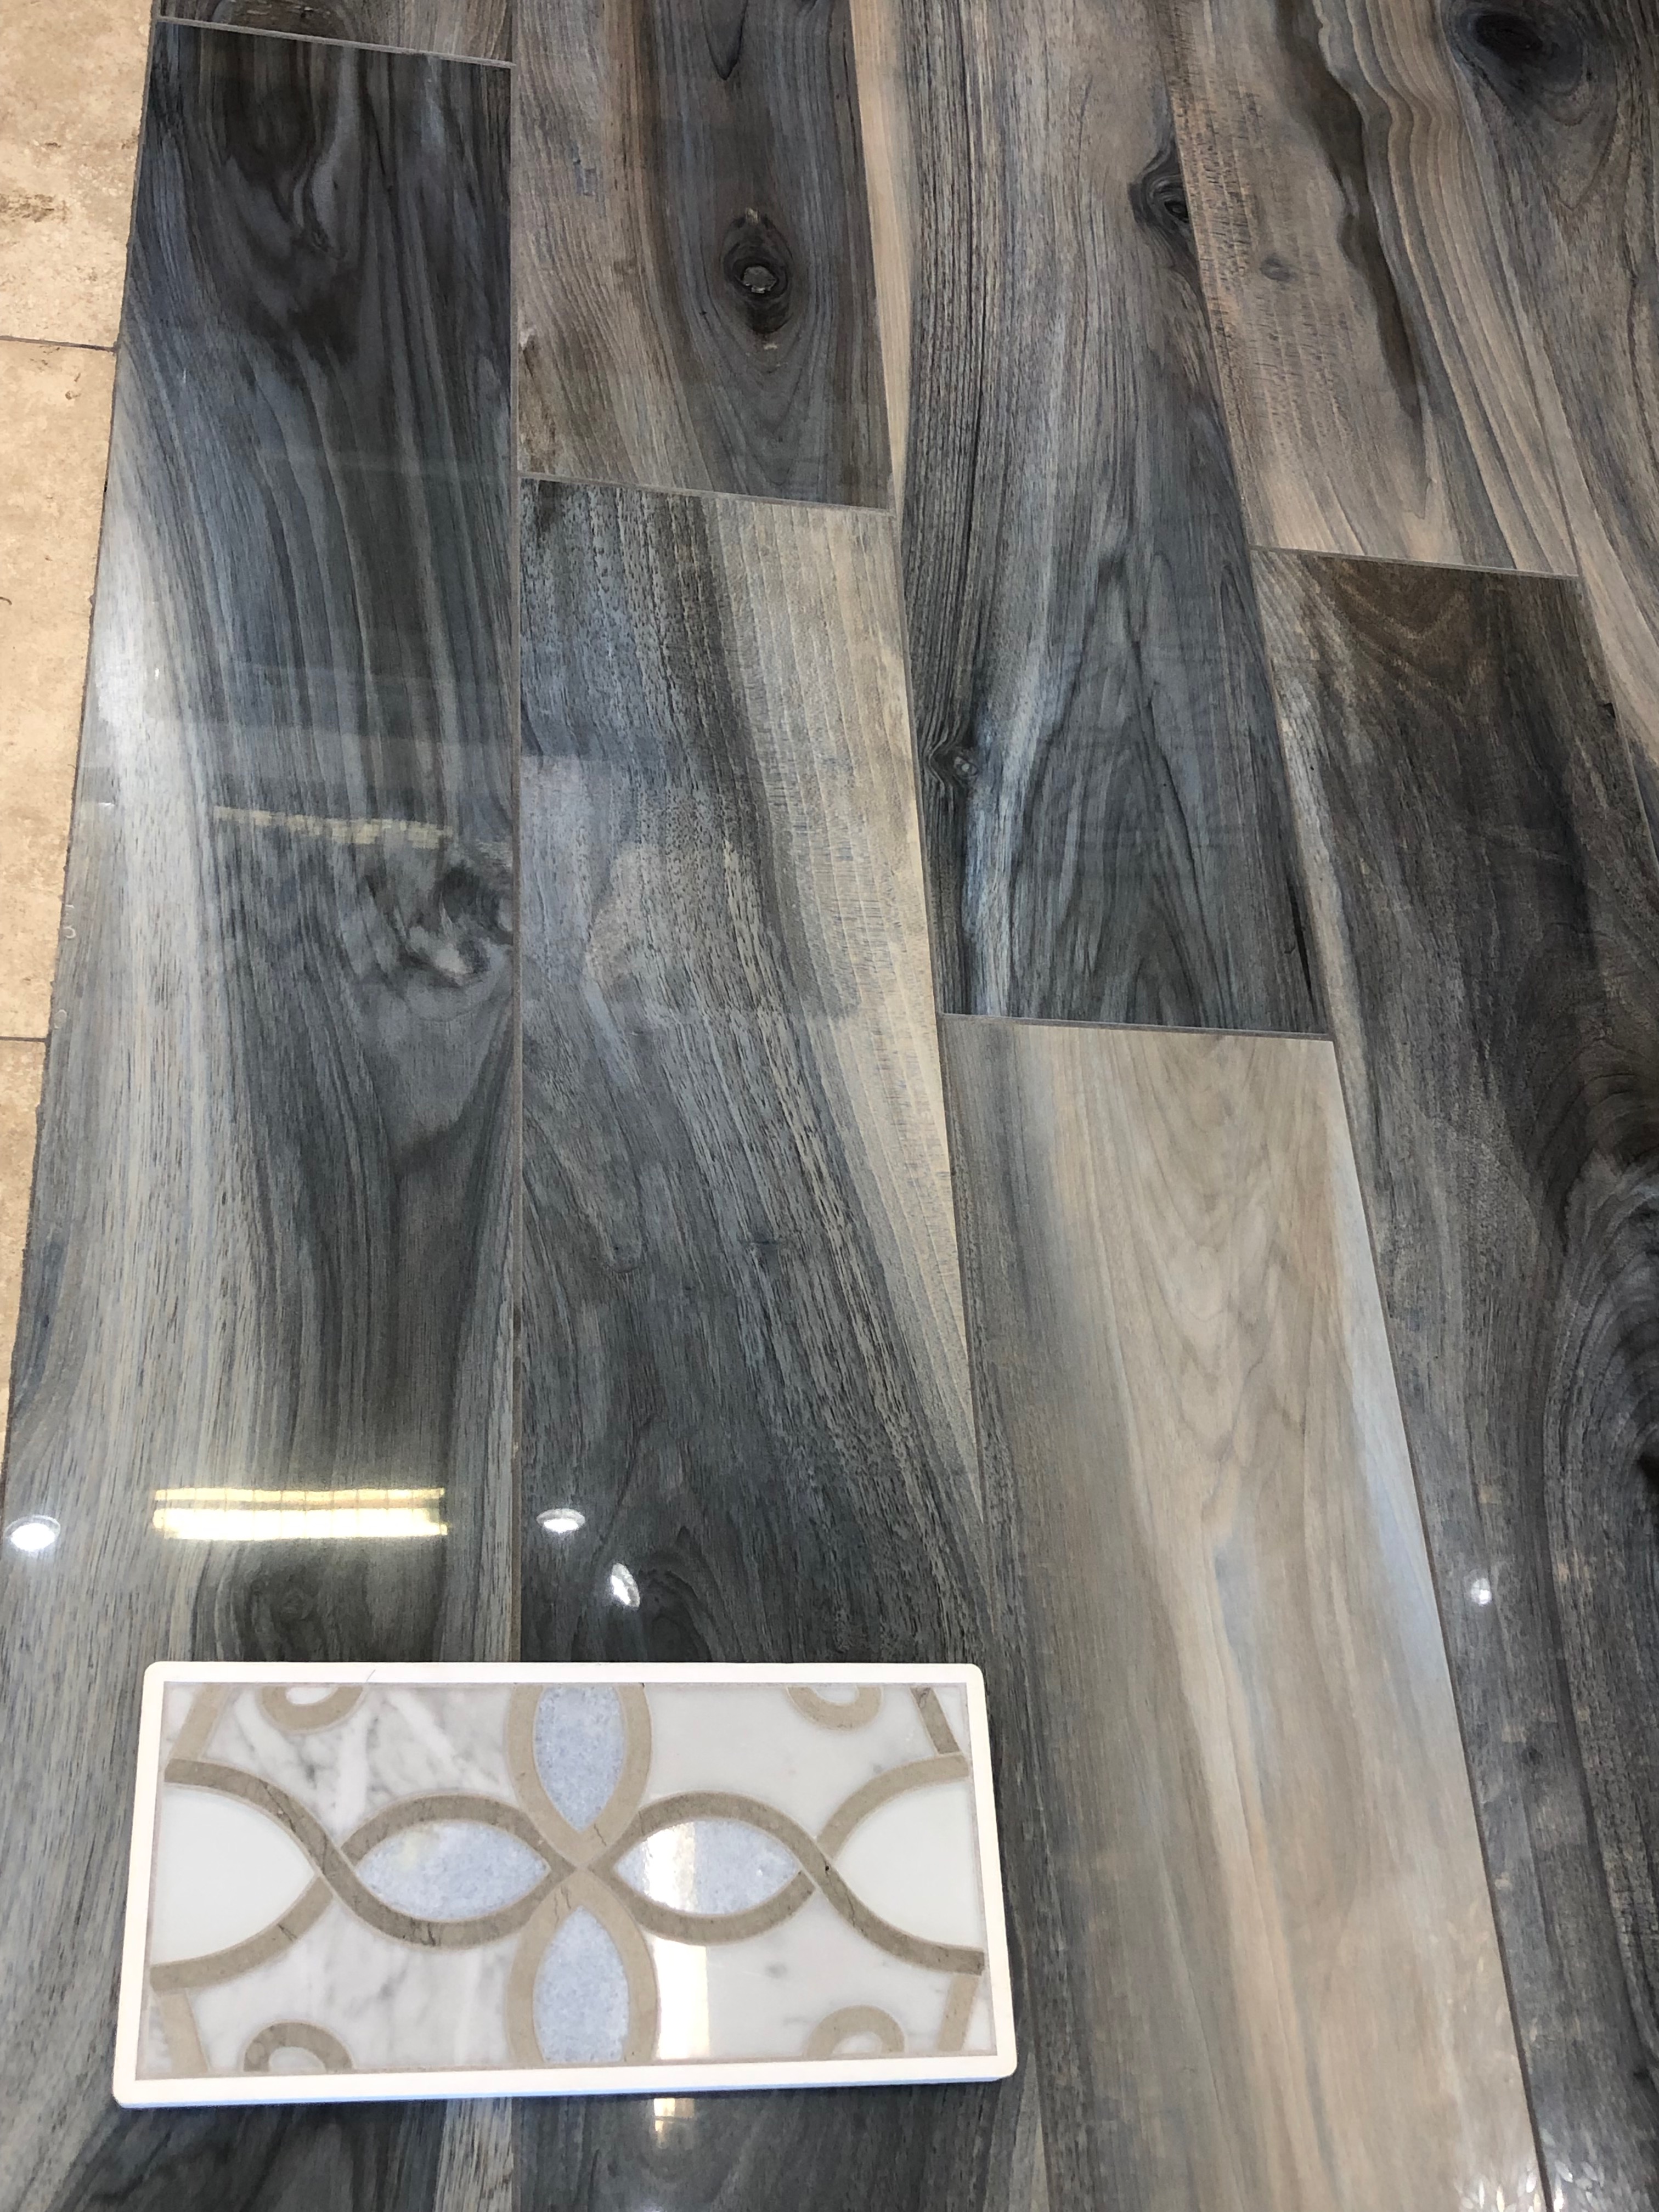
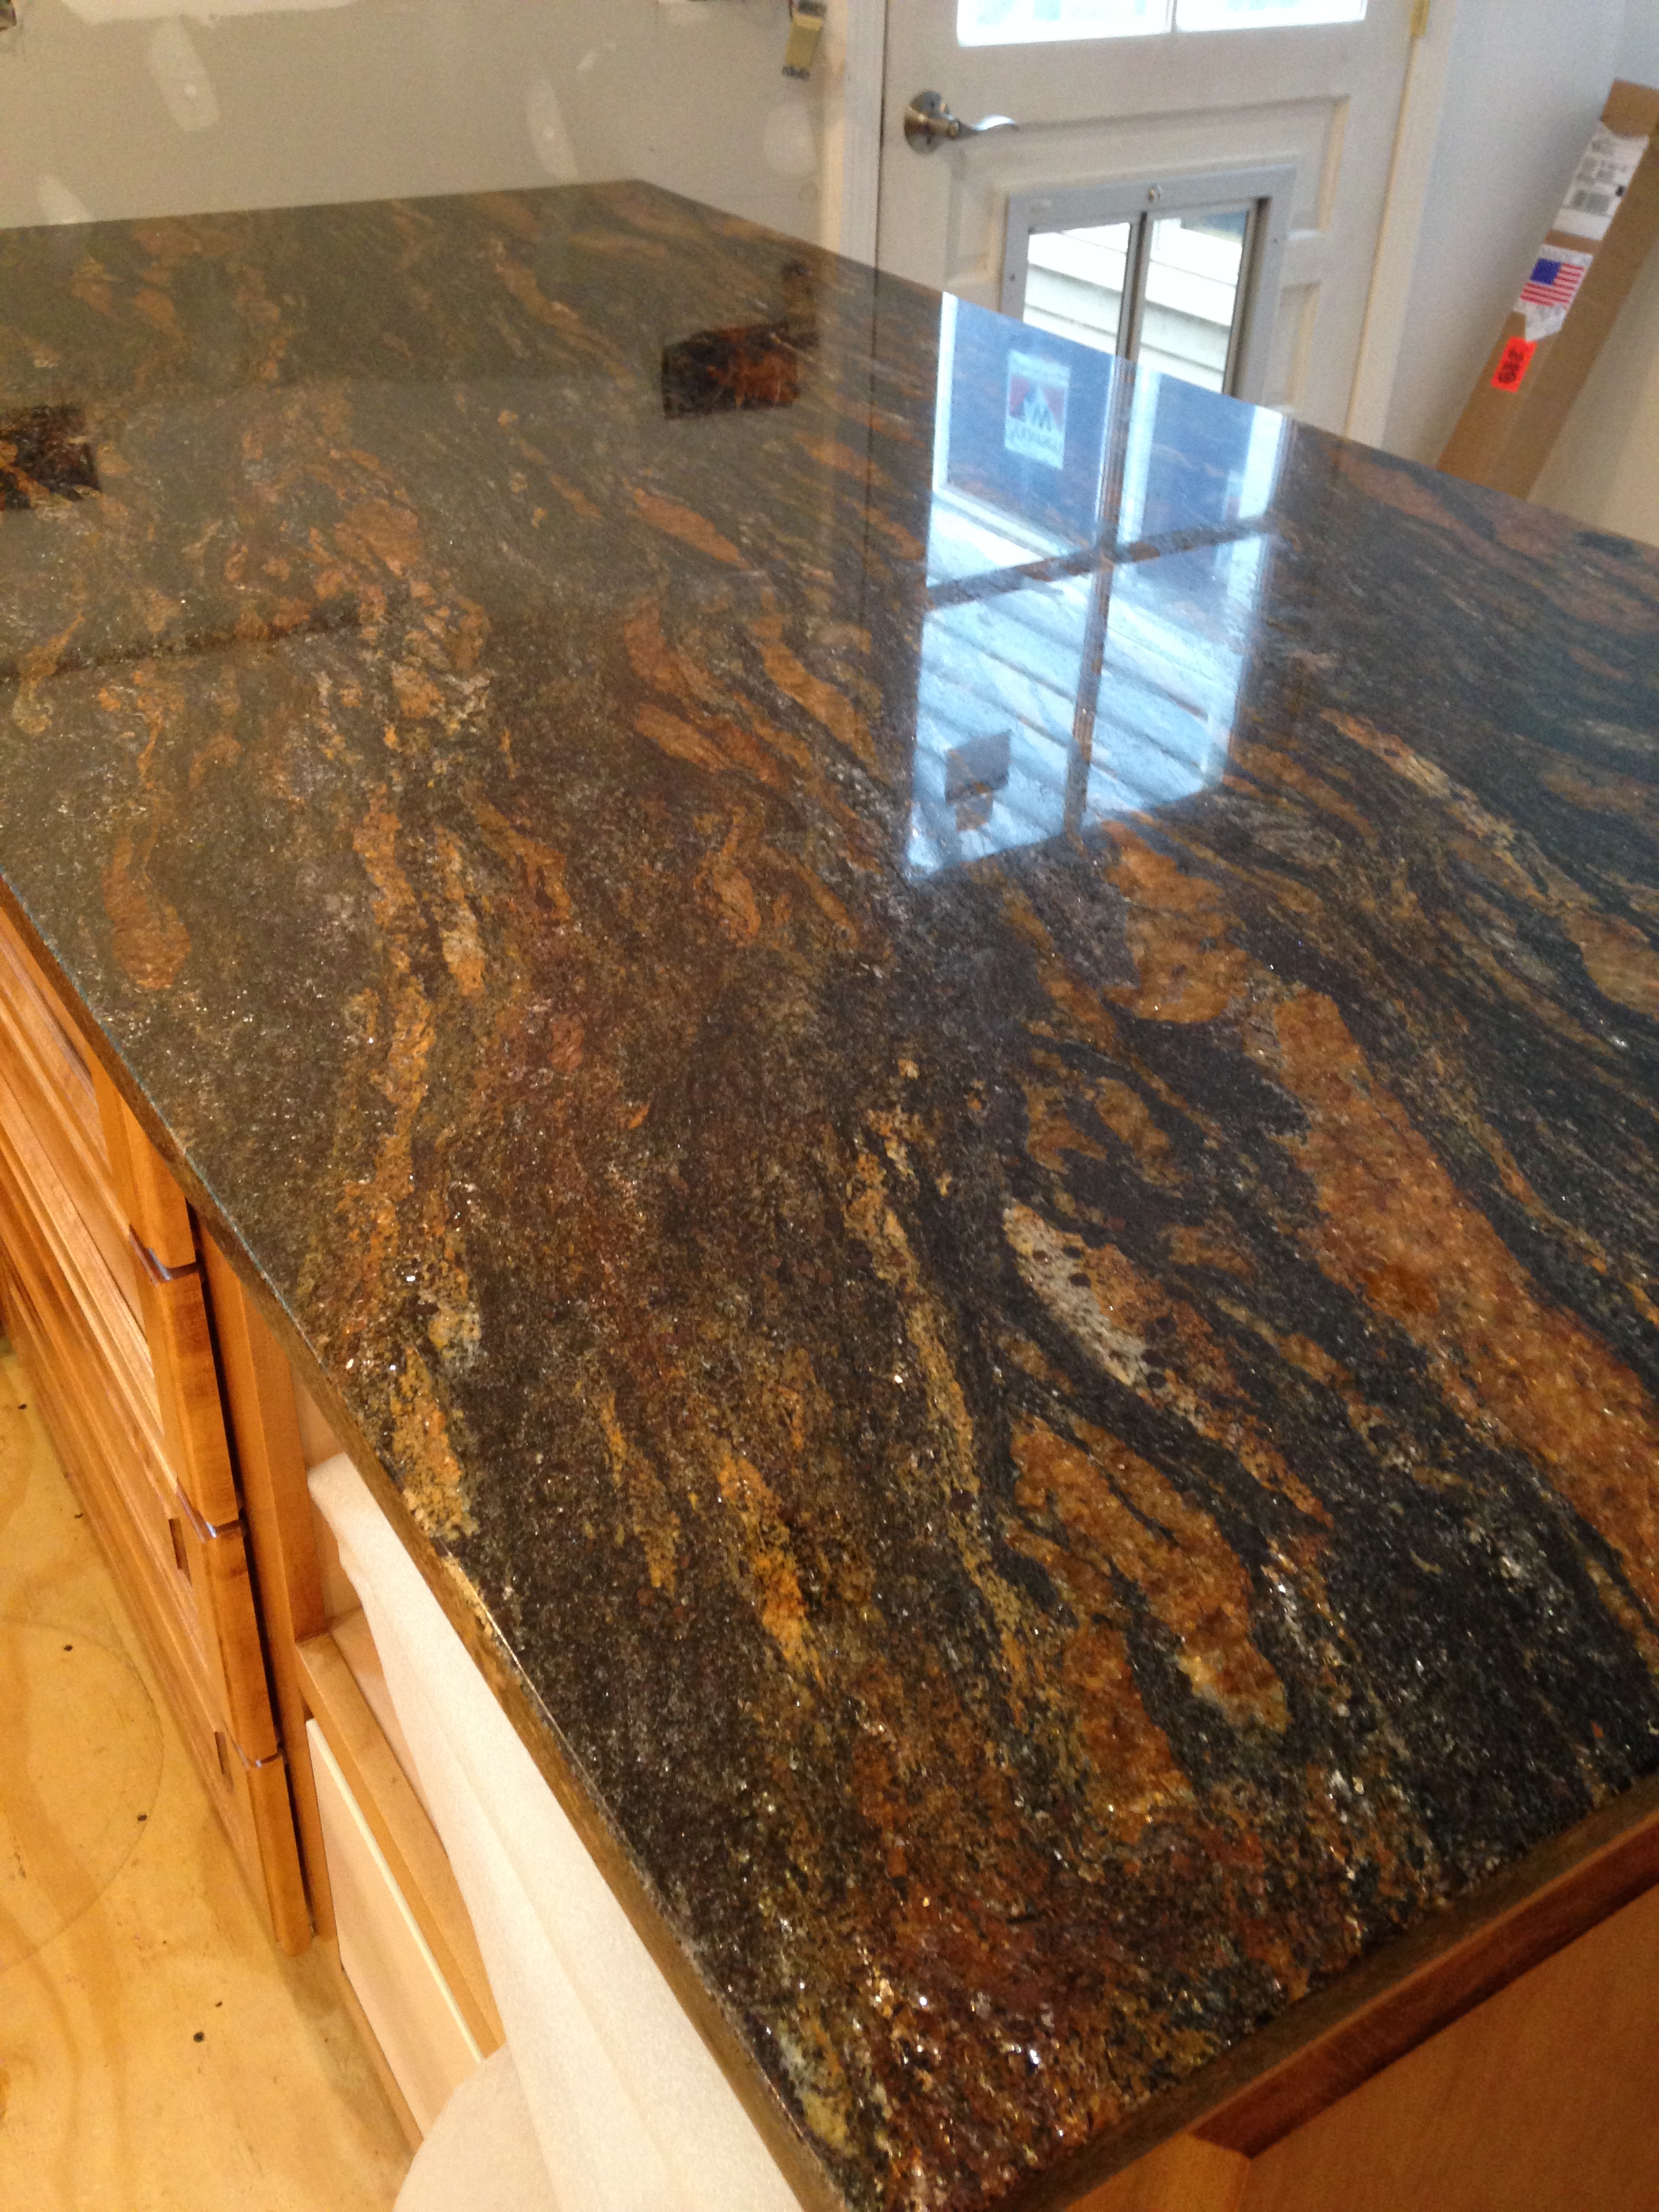
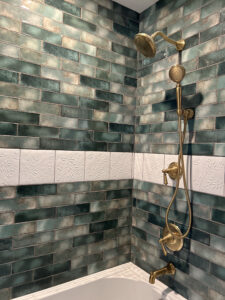
Step 8 – TILE & STONE – While the cabinet plans are in the works, we go to the tile and stone showrooms for those items. Typically, we will need a floor tile or stone (unless wood is preferred), a countertop material such as quartzite, granite, marble, metal, wood, cement or one of the many engineered quartz available, and a backsplash material.
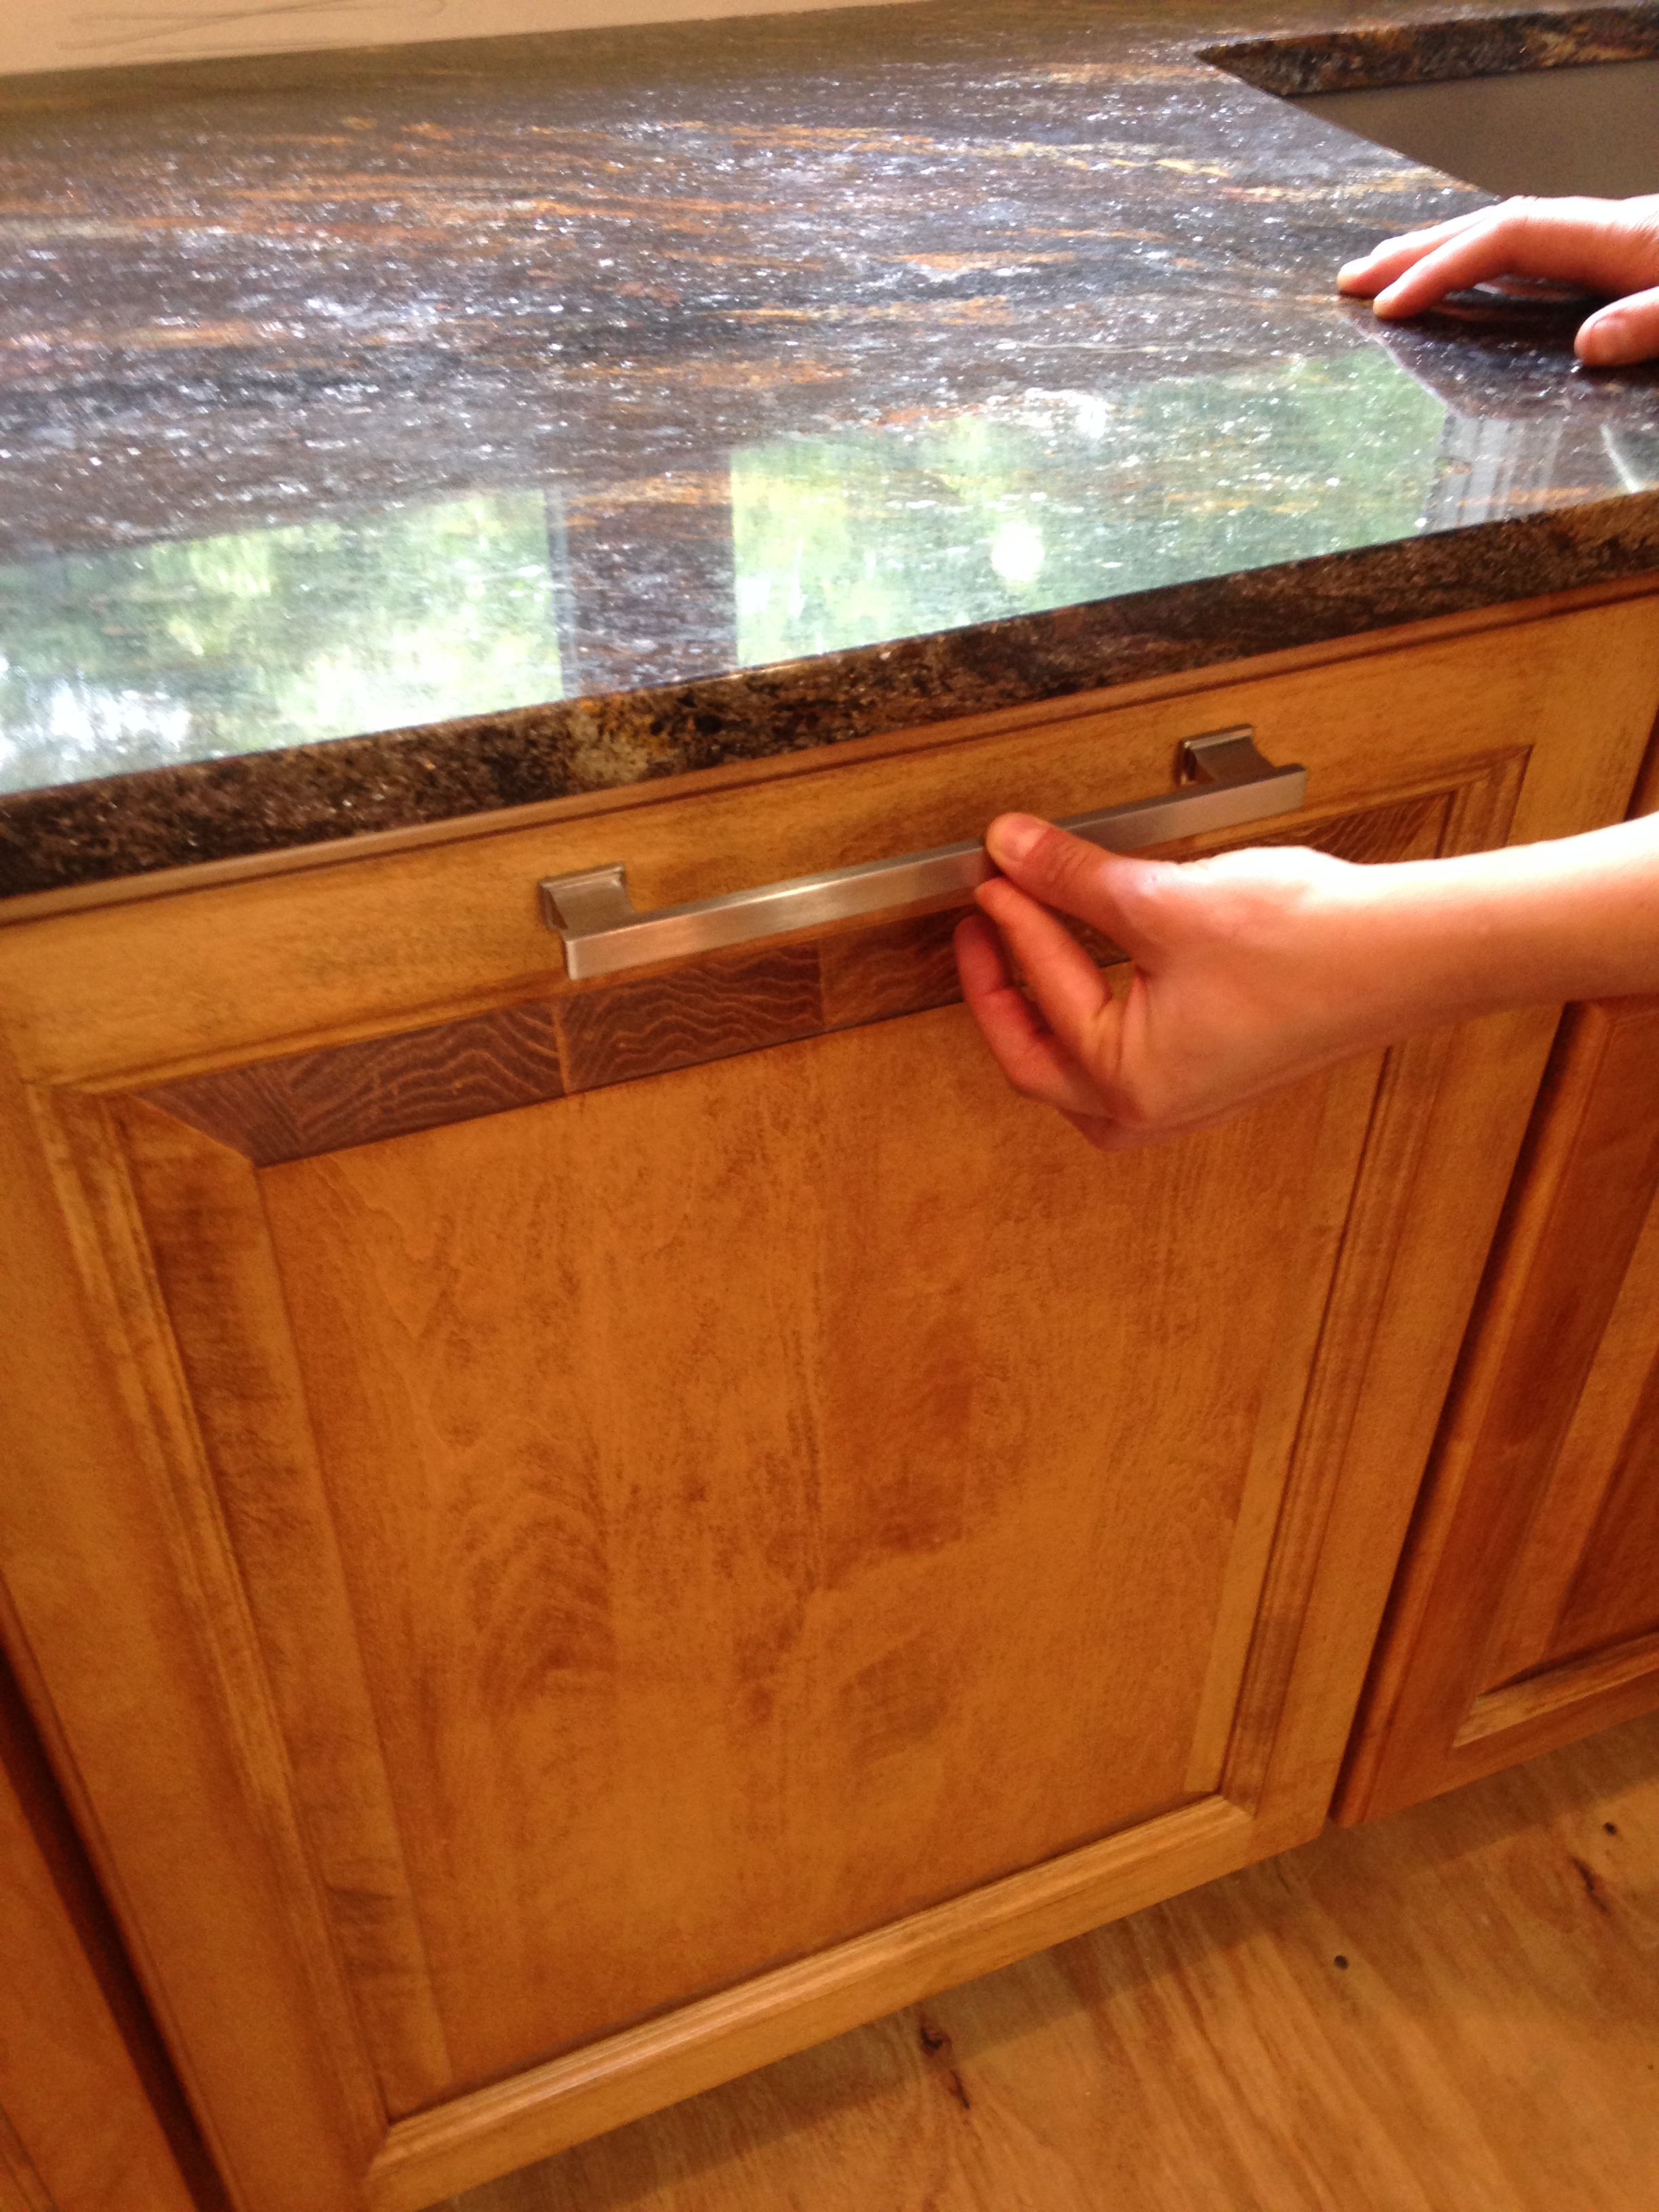
Step 9 – OTHER ITEMS NEEDED – Lighting, plumbing fixtures (including a pot-filler if requested), cabinet knobs/pulls and wall paint color, are the next items that are addressed and selected.
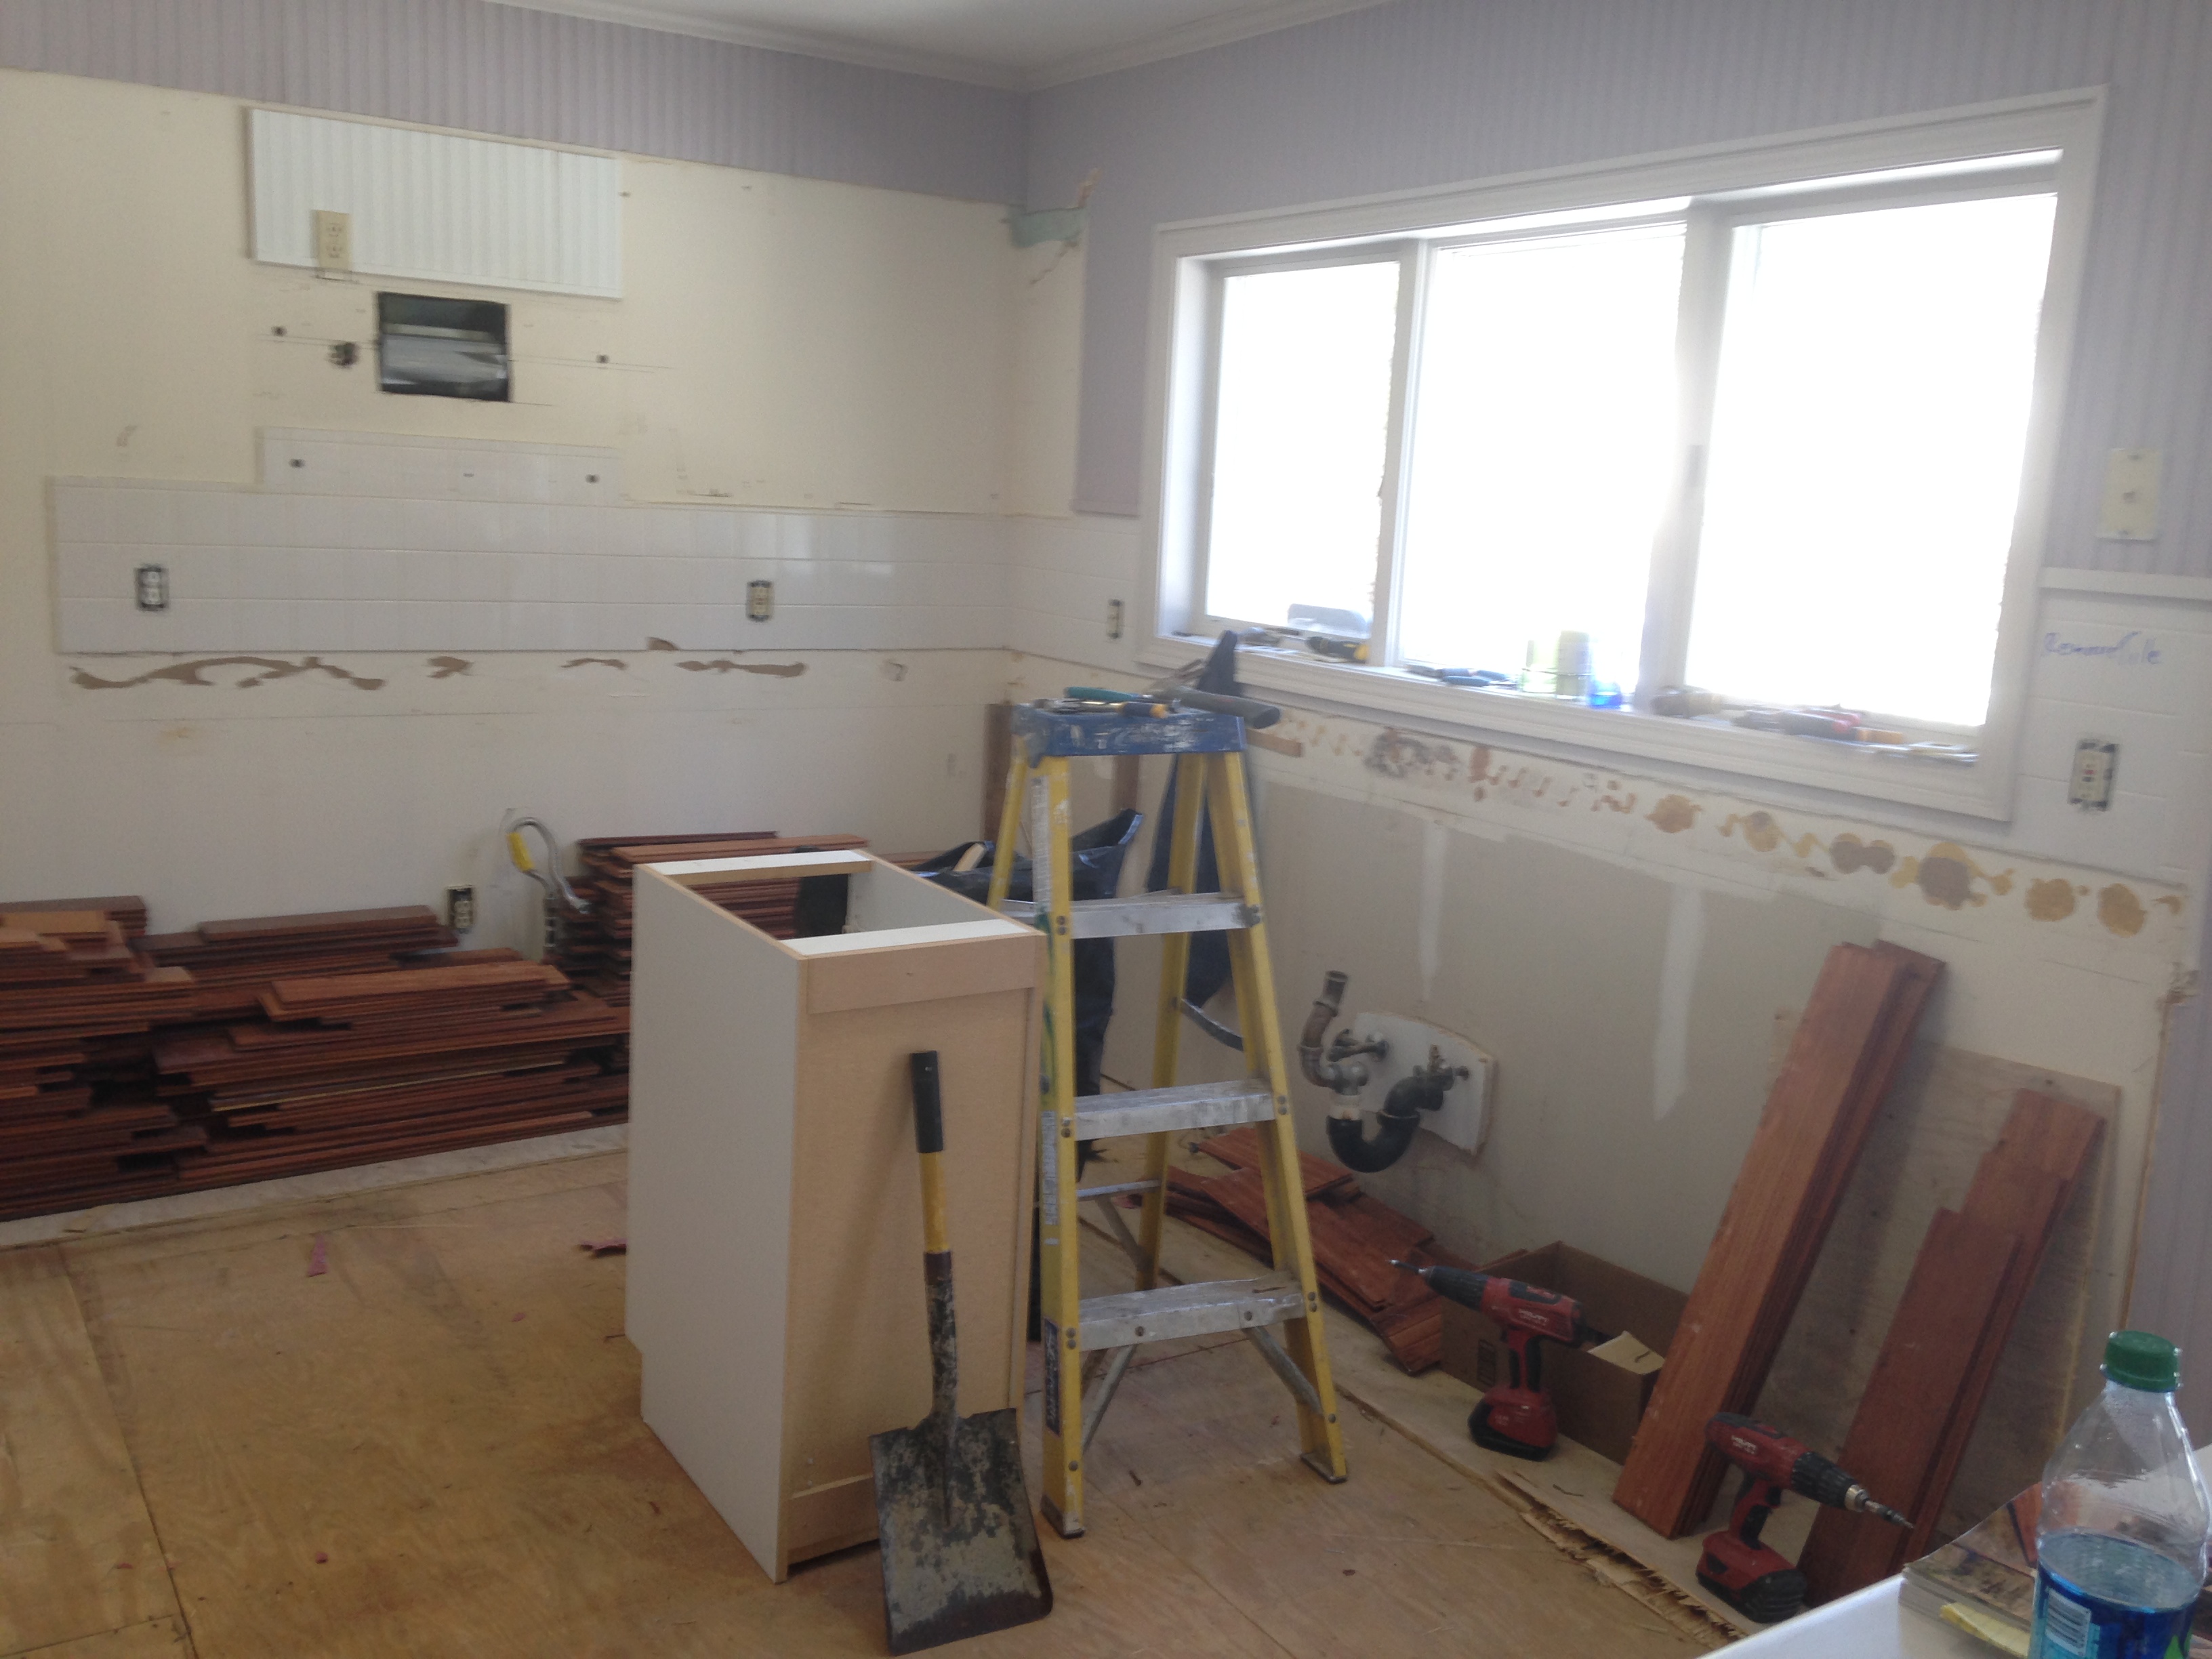
Step 10 – DEMOLITION & INSTALL – The kitchen demo starts when ALL of the materials are on site (except the appliances which are usually waiting in a warehouse to be delivered when needed for install). This ensures that there will not be a break in the production schedule which is so very important. The contractor does the demo and install, the electrician unhooks and reconnects all of the electrical and the plumber does the same. The flooring us usually the first to be installed and the walls are usually painted prior to cabinet delivery.
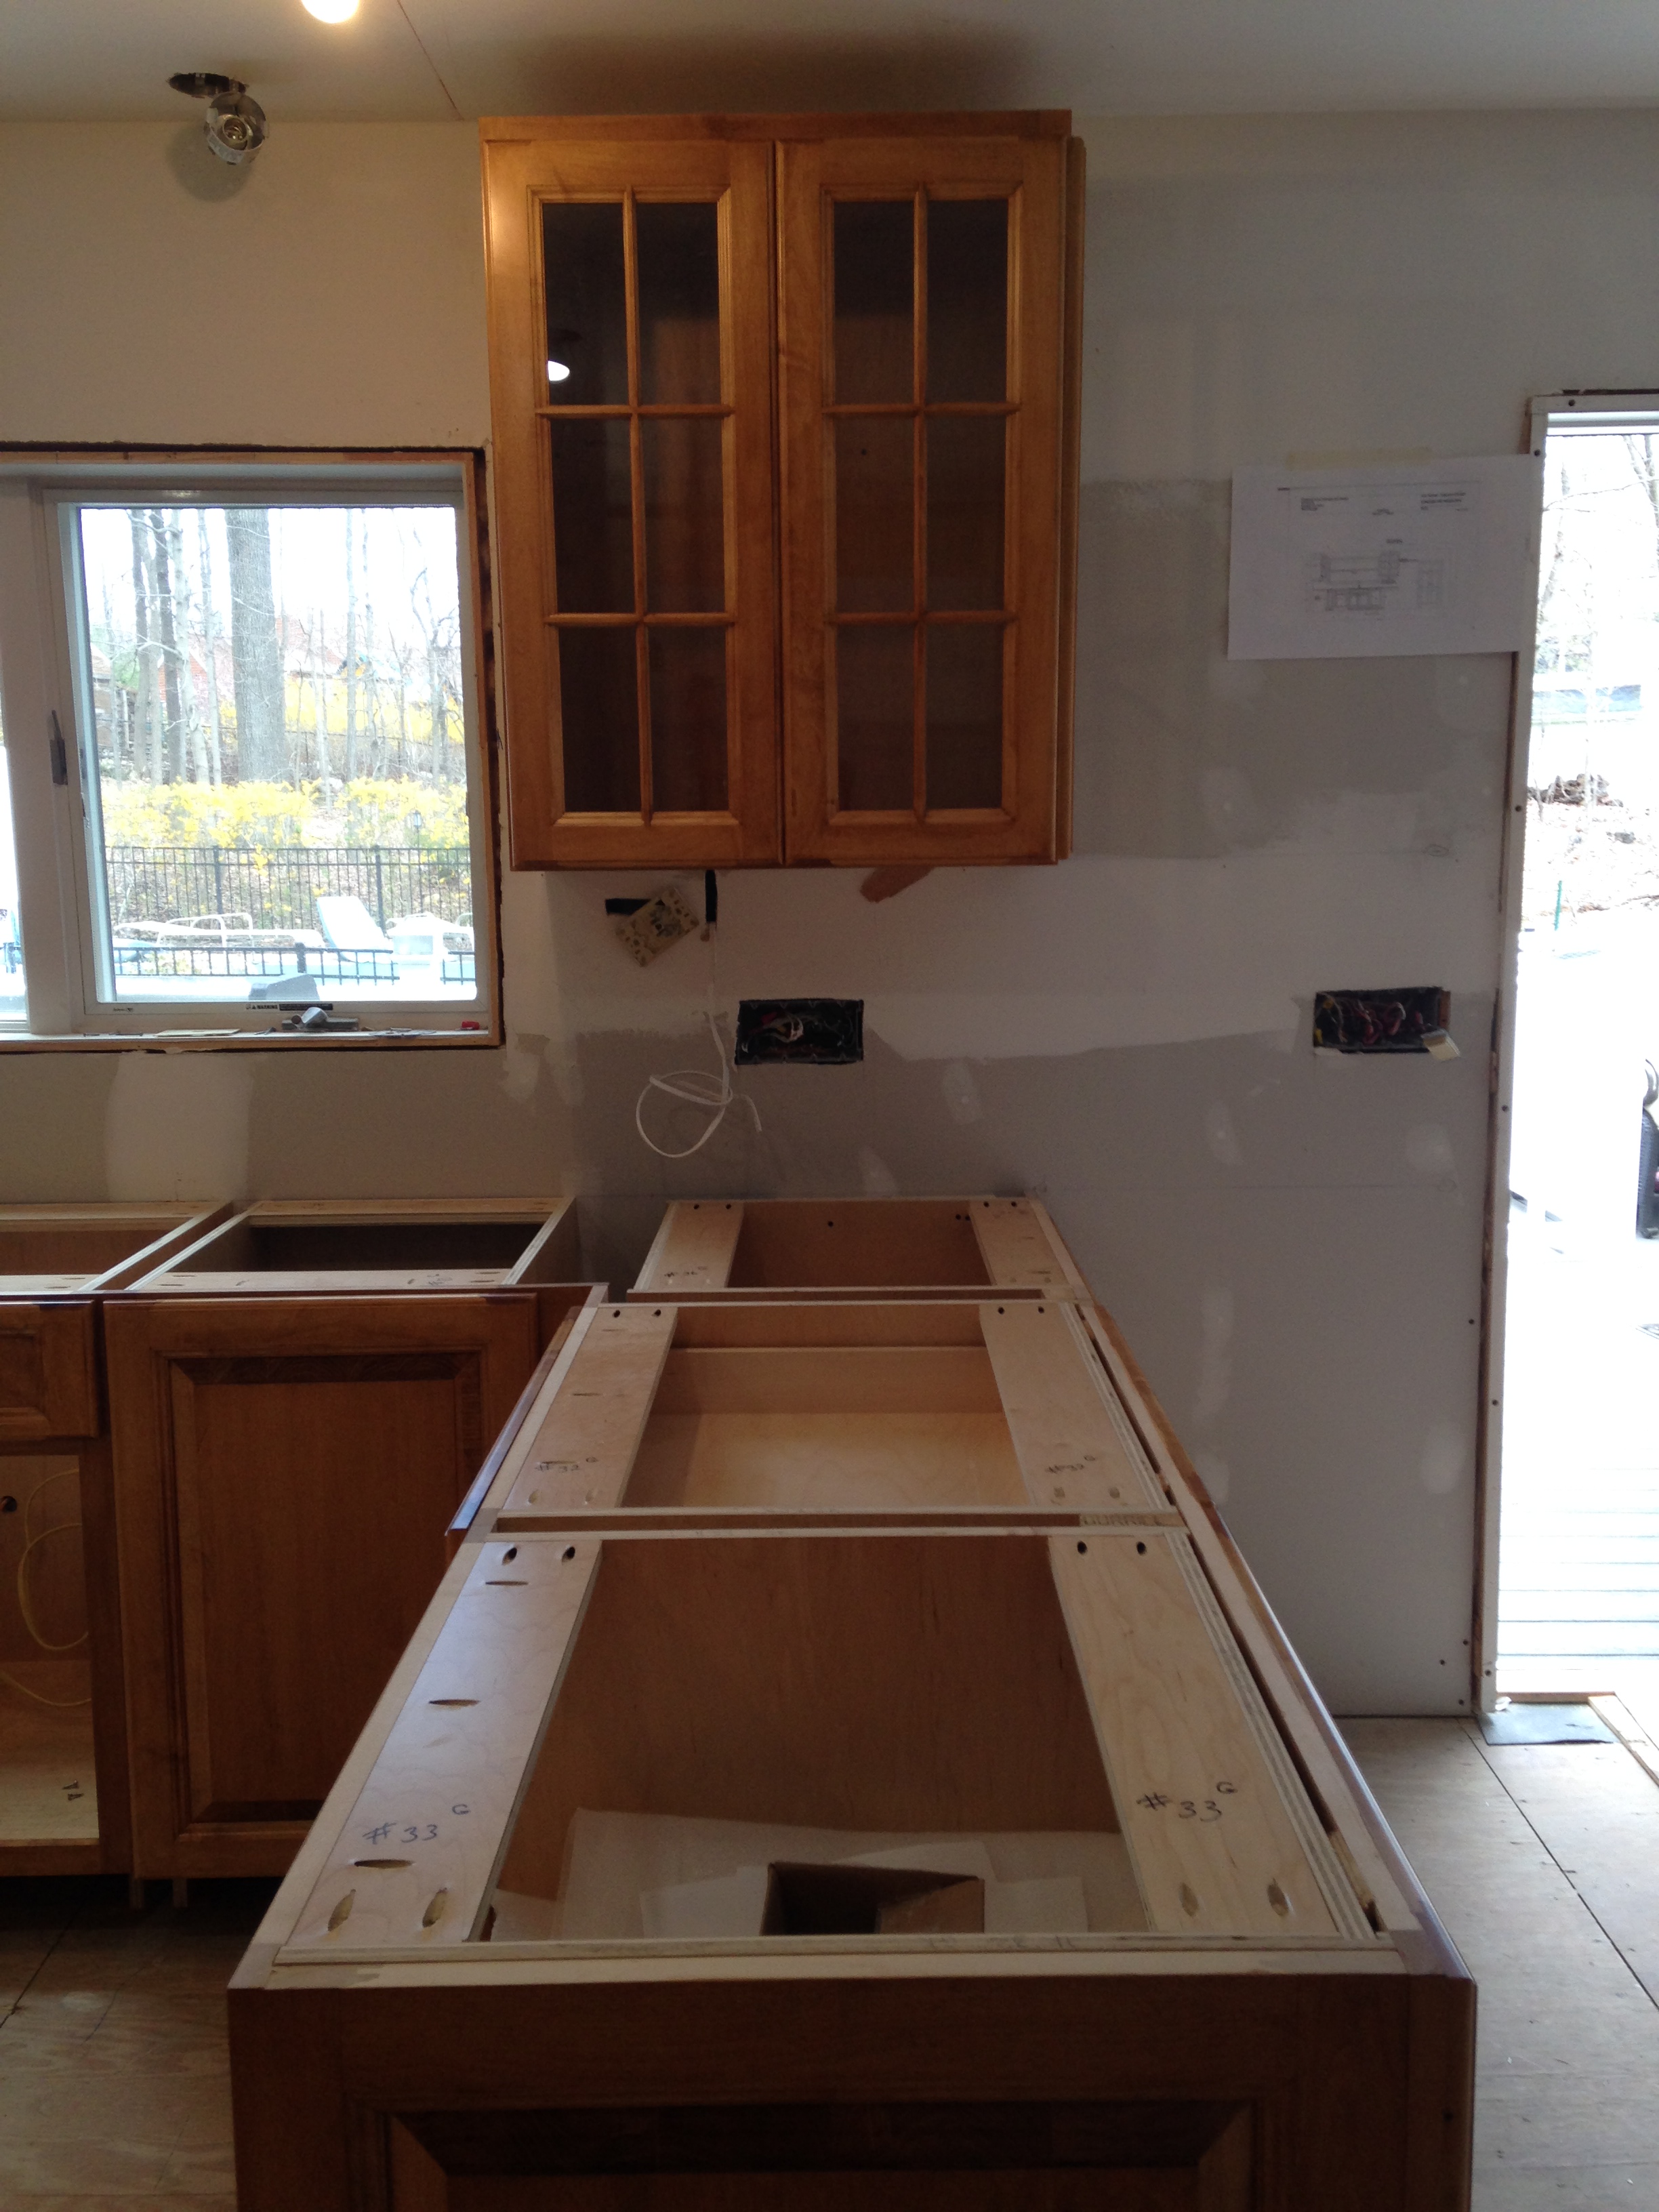
Step 11 – COUNTERTOPS – The countertop material gets templated when the cabinetry is all in place. The stone company creates this template by measuring onsite for a perfect custom fit. Usually the appliances are in place, however, they can work around this if they have not arrived yet. Usually the countertops take 7-10 days to be fabricated and installed. At countertop install, the plumbing fixtures are put into place by the sink as the stone installers cut the holes in the countertop at that time for placement.
Step 12 – BACKSPLASH INSTALLATION – The last part of the installation process is the backsplash tile. It must be installed after the countertops are in place for a perfect fit.
Step 13 – FINAL ITEMS – The last construction items to go in are the pendant lights or chandeliers, cabinet knobs and pulls, and any specialty items like window treatments. Kitchen furniture and accessories will follow when all of the construction elements are completed!
We hope this dispells some of the mystery involved in the Kitchen Design process. Call us today to answer any questions that you may still have in creating your Dream Kitchen!